I have received several inquiries as to how I mounted the Burris Fastfire on my Model 41... as seen near the beginning of this thread.
I've had this setup for about three years and I'm very happy with it in all respects.
I'm posting the instructions in hope that some others may find it helpful.
Feel free to PM me if you have any questions.
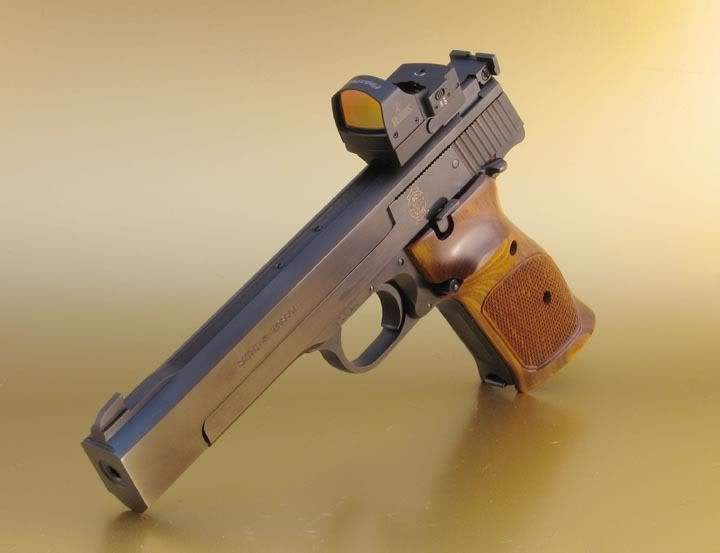
Instructions on Mounting the Burris Fastfire on a Model 41
After looking at several alternatives to improve the mounting of my Fastfire, I think that I finally hit on the best solution.
Weaver recommends their #62 as the mount for a pre-drilled Model 41. However, this is a mount that's about five inches long. I got one but it was much more than I wanted for my Fastfire.
I got a Weaver #46 mount for about $4 from a local gun store. I took in the #62 to compare contour, holes and guide cuts. The #46 is a little over an inch long but the holes were too far apart.... however the contour and cuts were perfect. I ended up drilling one new hole that aligned perfectly with the guide cut. I did need to sand about 1/32 off the back side to ensure clearance with the iron sight. (Since it's the back side and sitting next to the iron sight, the aluminum color can not be seen.)
It got rid of the extended mount rail out front and actually lets the sight sit back another 1/4 inch.
A vast improvement with the before and after appearance.
Question: Would it be possible to cut the Weaver #62 mount down to 1" or so?
Yes you could cut down the #62 quite easily. That was my original plan and I ordered a second #62 as a $6 insurance policy if I screwed up.
However, I took it over to a local gun store to compare the contour and size to other short Weavers that they had in stock. This is where I spotted the #46 (just a $4 investment).
By flipping it 180 degrees... using one existing hole and drilling one new hole, I was able to get the sight mounted rearward an additional 1/4 inch. It sits quite nicely over the front of the iron sight with adequate clearance.
The advantage of doing this versus chopping the #62 was getting the sight back a little further, and not having a cut metal surface visible under the sight in the front. I'm all for pretty!
(I did grind off about 1/16th on the rear of the #46 for safety clearance with the iron sights.... but it is not visible from any angle.)
Like I'd said in a previous post, I worried for a while.... "What if I screw up my cut or my drill hole?????"
Then I thought, "It's a $5 part... basically a Starbuck's coffee!"
I got lucky and it came out great on the first attempt.