DETAIL STRIP
Find a perfect fitting screwdriver.
Remove the grip.
Unscrew all the screws on the side plate, don't mix them up.
Roll gun over, push the thumb latch in and open the cylinder.
Slide yoke and cylinder off the frame, go easy not to scratch it.
Roll gun back and find a plastic hammer and tap the frame (near where the grips would be) and the side plate will come loose.
Remove slide plate.
Lift out the hammer block (sheet metal part with a hole on one end, hook on the other).
Loosen strain screw and remove main spring.
(J frame insert cotter pin into hole, remove from stirrup).
Pull thumb piece to rear. Press trigger to cock hammer, lift hammer up and off the stud.
Find a screwdriver, and pry the rebound slide off the stud, rebound spring and stem will fly out so keep a finger over opening.
Pull back the hand to clear window, then wiggle trigger off the stud.
You can remove the cylinder stop and bolt but the gains are not worth the trouble.
But if you must, then flip gun over and unscrew thumb piece.
Flip gun back, pull bolt to rear and lift out of frame, watch out for plunger and tiny spring.
Pry out spring for cylinder stop, let the stop drop down and remove stop.
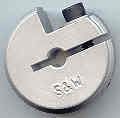
Reverse the operation to put it back together. Find a special rebound slide tool to put the rebound spring back on. It looks like this:

Remember all the guns from J frame to X are nearly all the same internally.
The hammer block sits all the way up before the slide plate goes back on. One end sits on the stud of the rebound slide, the other end sits in front of the hammer. Picture of 500:
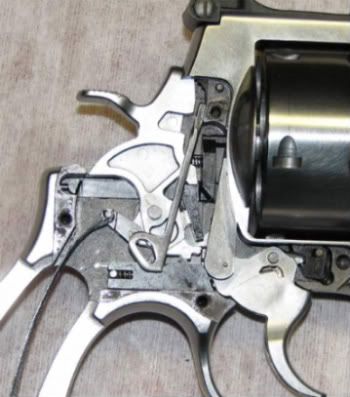
Here is a picture of a 686 without the hammer block:
 CYLINDER DETAIL STRIP
Once the cylinder in on the table it can be totally taken apart.
Guns which are about 40 years and newer the ejector rod is counter-clockwise. Older than this the threads are clockwise.
Place empty cartridges into the cylinder.
Using a drill chuck, turn extractor rod and unscrew it. (Don't mar the knurl on the end)
There are 2 springs inside, a collar, center pin and the ratchet. Keep finger pressure on the ejector rod so the springs don't fly off the table.
Reassemble in the reverse order. You don't need lock tite on the threads.
You could use a tool like this instead of the drill chuck, if you prefer:
 X FRAME CLYINDER:
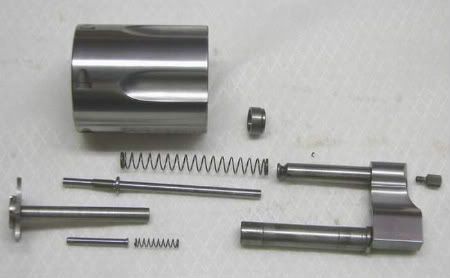
Here is a picture of what the parts look like.
To disassemble: turn knurled end clockwise, remove nut and slide the yoke off. Be careful not to mar the knurl. I use a clothes pin under pliers.
Then using a drill chuck, turn extractor rod clockwise to remove the extractor assembly.
(all threads are counter-clockwise)
Here is a picture of all the J frame parts spread out for your pleasure.
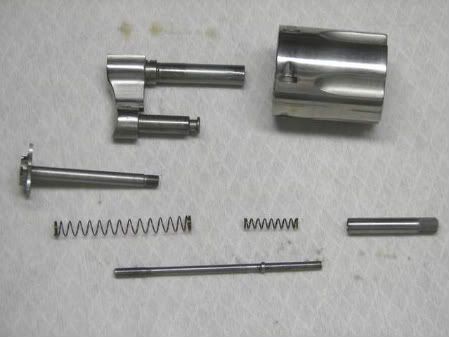
The larger frames K,L & N have an additional part called the extractor rod collar. This part shows in the earlier diagram of the model 29 I posted earlier.
__________________
NRA Benefactor Member


 its not that hard just takes some trial and error. It will help you to remove the hammer and loose parts so you don't need to worry about them. I use a small flat point screw driver or hex bit to push the spring into the slot on the end of the slide while pushing it down.


 Linear Mode


