Description: Fake gas block
Purpose: Cosmetic
Material: Delrin Plastic (black) 2(l)" x 1.5"(w) x 2"(h), 3/4" 10-24 thread cap screws
Cost: ~ $4 for the cap screws, got the Delrin free from somewhere
") Tools Needed
Tools Needed: 3/4" drill bit, 10-24 thread tap w/drill, belt sander, fine sandpaper or steel wool for finish smoothing, portable drill, table/miter saw(optional), drill press(optional)
Method:
- shape the Delrin block as desired using available tools & sand/polish smooth
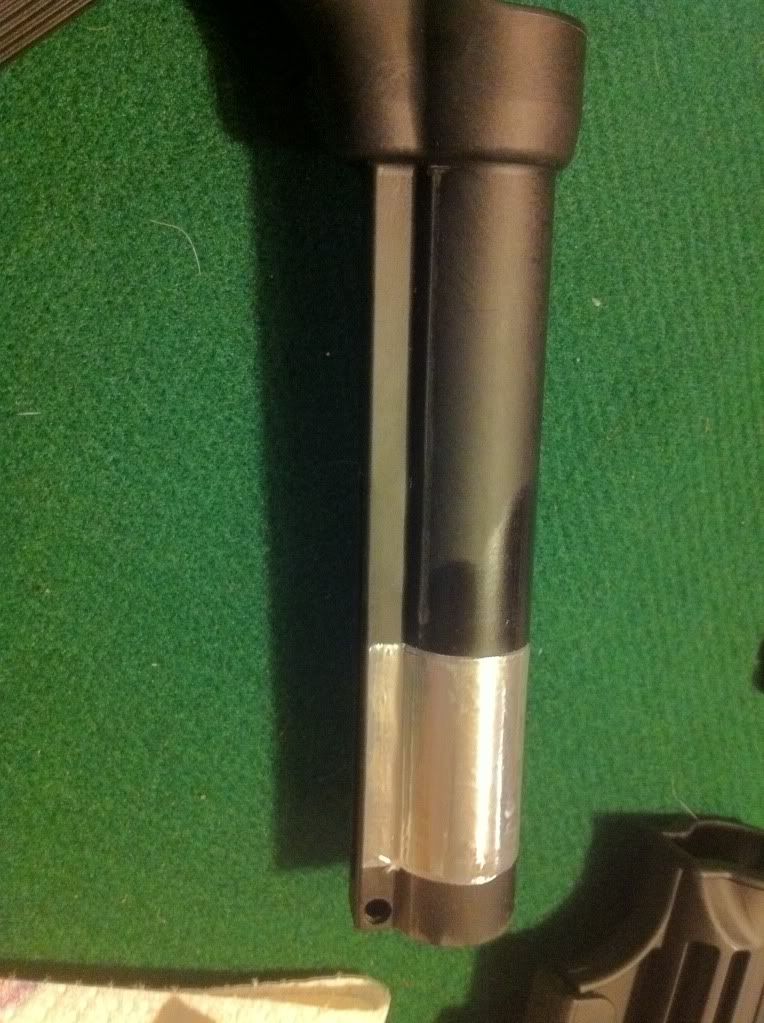
- remove handguard endcap off barrel (have to remove flash hider 1st)
- enlarge center barrel hole in endcap so this hole 'free floats' around the barrel
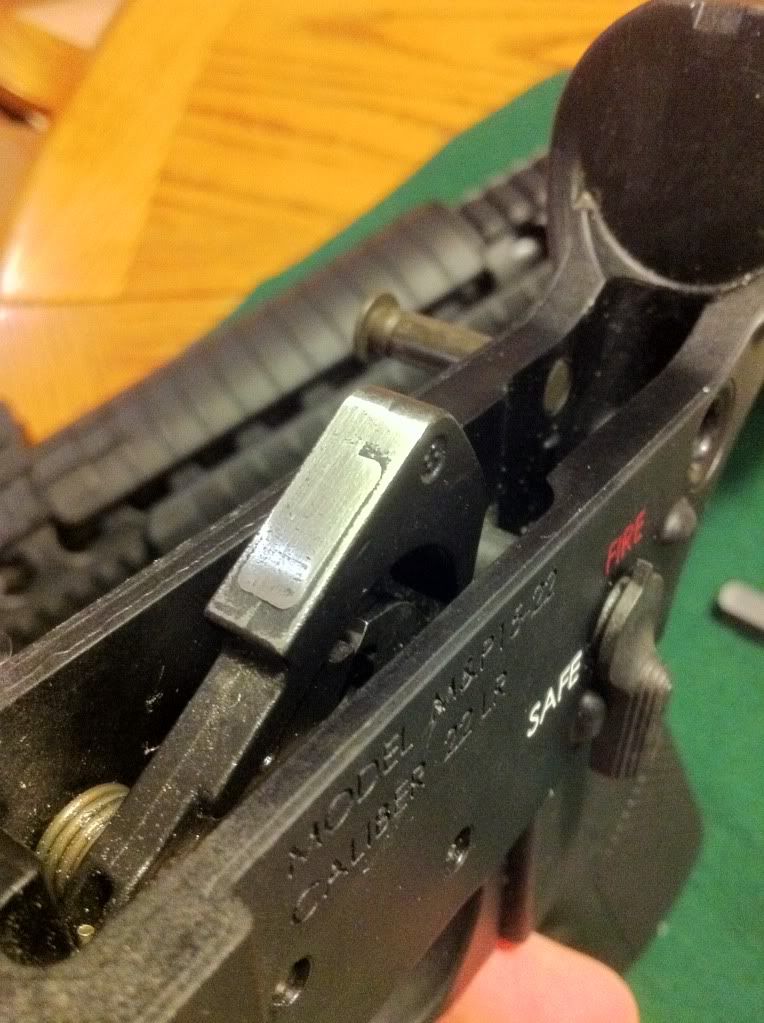
- drill & tap 4 holes in endcap + 4 holes in end of 'gas block'
- attach endcap to 'gas block' (see CAD drawing below)
- reinstall endcap.
Notes:
- Any hard plastic material that won't melt could be used as long as it is big enough for your idea of a gas block and can be drilled and tapped. (I suppose that a tight grain hardwood like Maple could be used if sanded and painted properly...after it's painted, who would know?)
- Attachment screws don't have to be threaded, could be regular self tapping screws
- Could be painted black, dark grey, pink, etc.. if so desired.
- If a 3/4" drill is used for the main hole, this block won't touch the barrel
- My installation is very secure when in place. I would not hesitate to attach a front sight to it. If your endcap does not fit tight, I would not try this mod.

Note: The cap screws on the exterior of the 'gas block' are only cosmetic. They don't do anything but make it look more like a real gas block.


 Linear Mode


