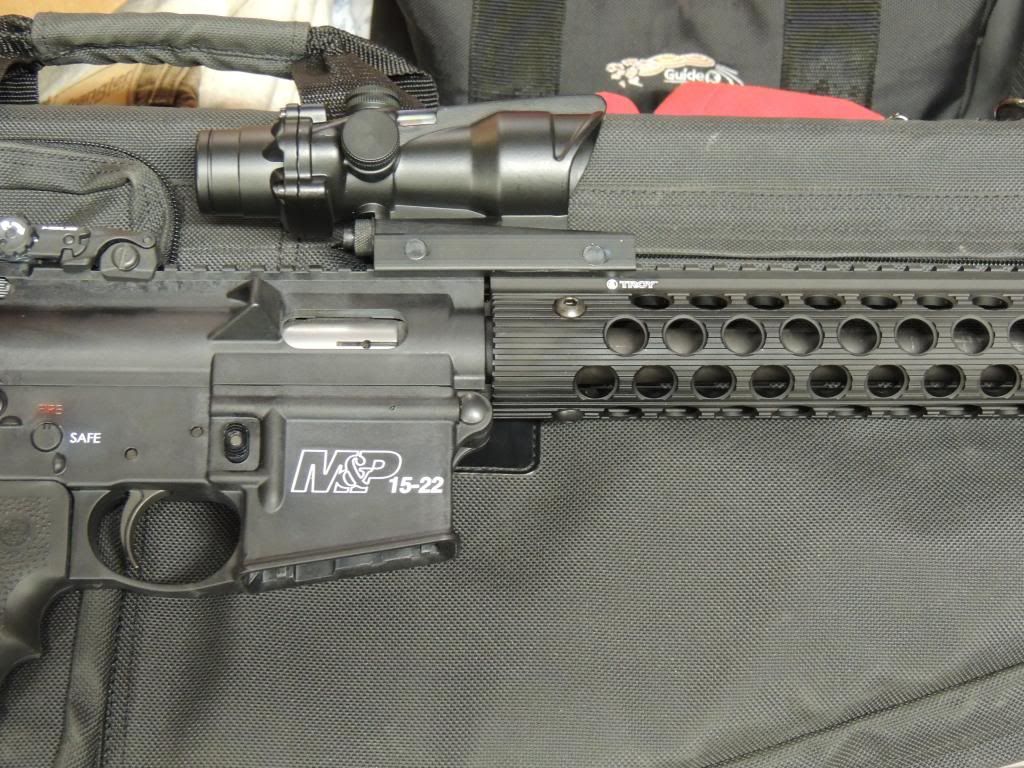
So, here is a picture of the completed project. Tacticool22 adapter nut installed and OEM barrel nut with Troy Battle Rail.
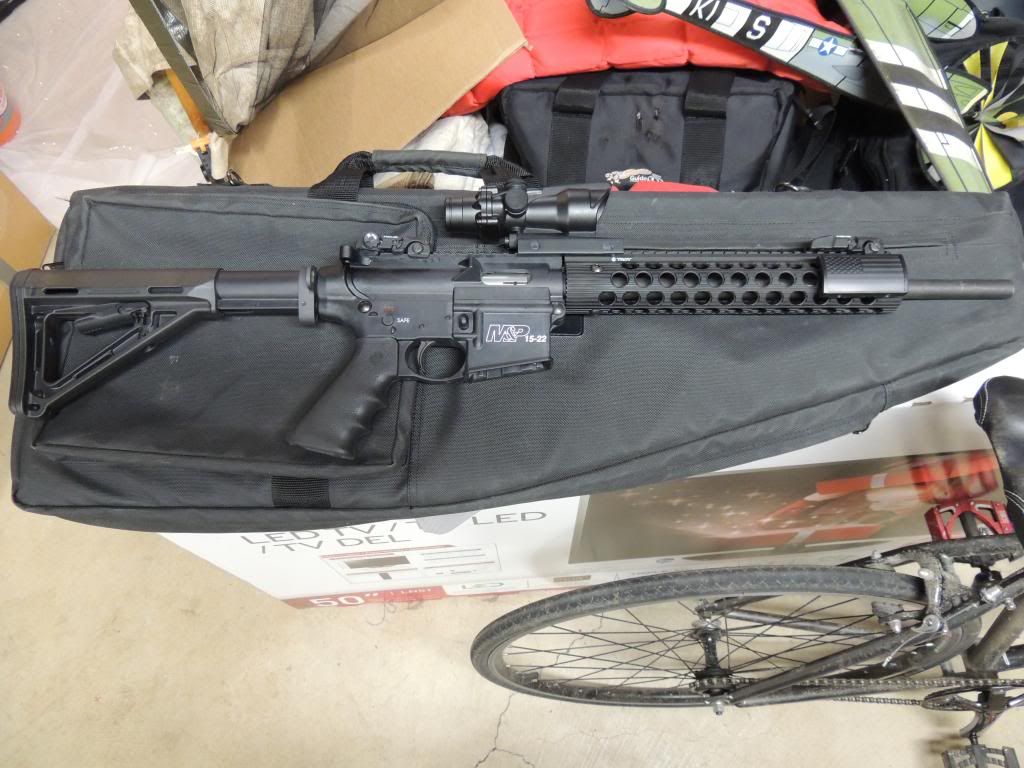
Here's a link to the Troy Battle rail:
Troy Industries VTAC Alpha Battle Rail Modular Free Float Handguard (You can get it other places, this is just a quick reference. I got the 11" without the integral front sight.)
BTW, before I get into it, the sight is a fake-cog, 1x30 "true green fiber optic".
Amazon.com: 1x30 True Fiber Optic Red dot sight sighting system - By OTG: Sports & Outdoors@@AMEPARAM@@http://ecx.images-amazon.com/images/I/410OO4NRUNL.@@AMEPARAM@@410OO4NRUNL
The flag on the front is a 9/11 Memorial Flag (with 2,977 points of remembrance) from Custom Gun Rails.
911 Memorial Flag, Large Laser Engraved Aluminum (LEA)
I bought the Tacticool22 free float hand guard kit.
Free Float Hand Guard Kit (4 piece) for Smith & Wesson M&P15-22 (Modified) [Free Float Hand Guard Kit - 1A] - $90.00 Tacticool22, Parts and Accessories for .22 Caliber Firearms
It comes with the barrel nut wrench, barrel vice jaws, hand guard converter nut and spanner wrench. You'll also need to source a standard AR-15 barrel nut. The Troy rail used to come with a proprietary nut, but now uses the standard barrel nut.
(Standard disclaimer. I am not an armorer - or lawyer or astronaut or anything like that. Use this information at your own risk. You might want to do like I did and stay in a Holiday Inn Express the night before you do this.)
The assembly was 'fairly' straight forward. Using the barrel vice jaws and barrel nut wrench, the factory barrel nut and hand guard come right off. NOTE that this kit comes with the
modified barrel nut converter. This requires that you remove the lower tab on the frame and most of the upper tab that align the factory hand guard. Therefore this becomes a permanent modification, although it appears that the factory had guard should remount just fine with what's left of the upper tab. You can buy a standard barrel nut converter from Tacticool and leave the tabs if you wish, but it will leave more of a gap between the hand guard and the frame once assembled.
Anyway, then the Tacticool22 barrel nut adapter goes on, and you use the spanner wrench to tighten it down. I know there is some esoteric advice out there about contacting S&W to get the proper torque figure. (I wonder how that would work?) I just tightened it down 'snug.' Well, to use a technical term, real snug. This is where I had my one and only little glitch.
I blissfully screwed on the standard AR barrel nut (again, real snug) and then tried to slip on the Troy hand guard. The hand guard is ribbed inside to match the cuts on the AR barrel nut and you would
think the hand guard would just slip right on. But no, it kind of ground on all the way down. I ended up filing just (another technical term) a tad of the edges of the barrel nut serrations to the point that it DID just slip on down. (For me a tad was just a little pile of filings.)
Should have been fine. But no. When the hand guard goes onto the AR barrel nut, it needs to seat at a point where a small track milled inside the end of the guard will allow the hand guard to turn around the serrations of the AR barrel nut (in order to line it up on the rifle.) As I first thought that everything was OK, I tried to turn the assembly to line it up, and the AR barrel nut - barrel nut converter assembly loosened up. With the hand guard still gripping the serrations of the barrel nut, there was enough torque that when I tried to spin it, it just loosened.
So off with the hand guard (I just pulled it backward while jimmying it a little), off with the standard barrel nut, re-tighten the Tacticool barrel nut adapter, and reinstall the AR barrel nut. Then I slid the hand guard back on and I could see that it was just about seated in the upper part of that milled ring, but less so on the bottom. (The bottom of the hand guard needed to be seated closer to the frame, and it was blocked by the frame.) Since I wanted the gap between the frame and the hand guard to be as small as possible, backing off on the AR barrel nut so the hand guard would seat didn't seem to be an option.
I thought I would mill the hand guard out a little, and that probably would have worked, as long as I had milled enough so that the hand guard would have slid on and then also had room to turn as it rotated into alignment with the frame. But this would have left an unsightly filed out part on the lower part of the hand guard. So my solution was (for the faint of heart, you might want to skip to the next section) to file that part of the lower frame right above the take down hinge that was keeping the hand guard from sitting flush and square to the frame. (Again, this is a permanent modification.) Technically speaking, the amount was a smidgeon. Seriously, it was just a few file strokes. Here is a picture of that area.
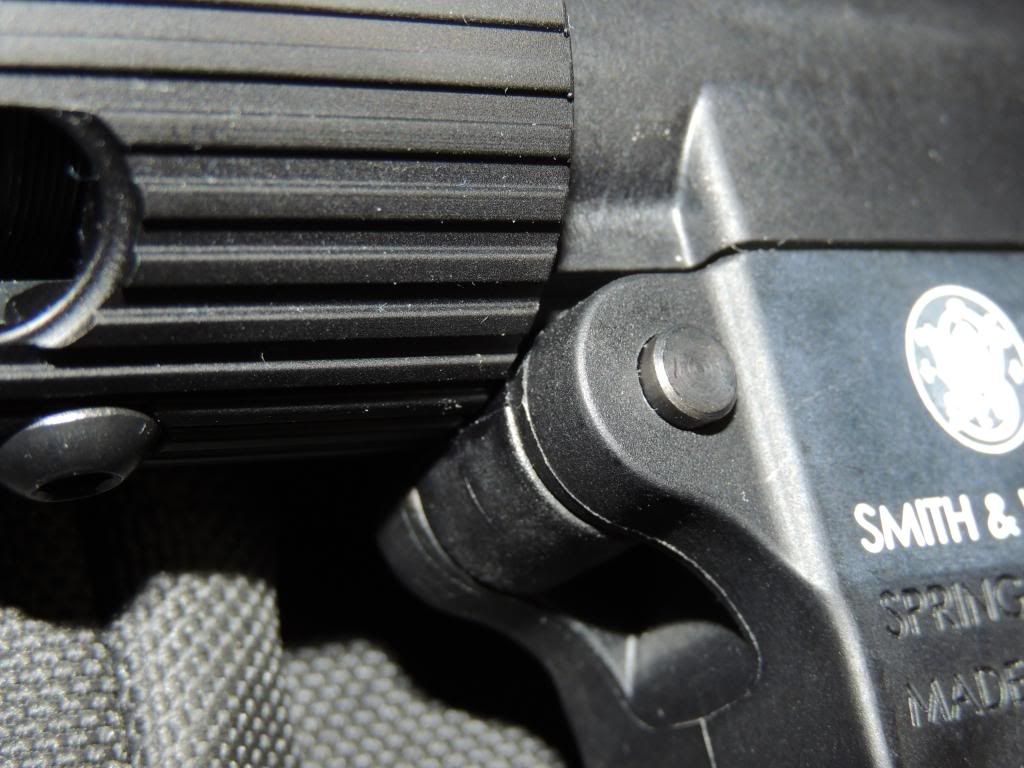
And yes, it opens and closes just fine.
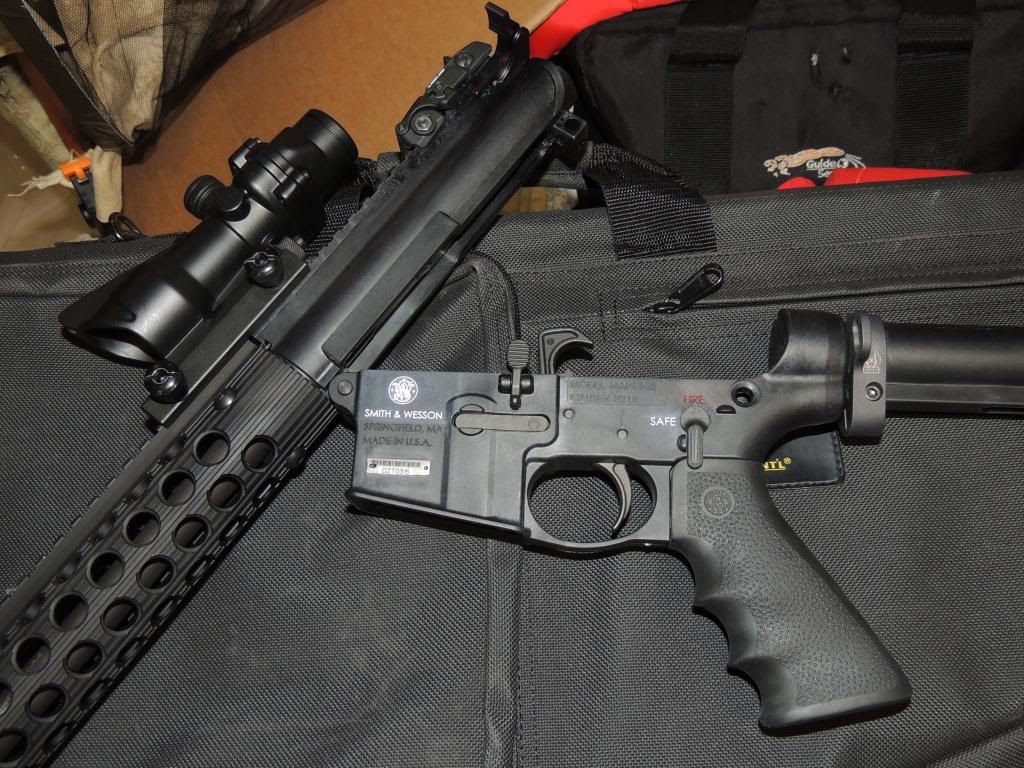
After this, the hand guard keyed up just fine with the frame. But I have to comment. There are some instructions out there and at least one video that refer to the Troy rail as having a tab that keys perfectly once turned against the frame. However, it does NOT (at least this rail and my rifle) actually help because when the hand guard is lined up perfectly with the frame, this tab doesn't even touch. I can only conclude that the 15-22 is narrower in this area than the standard AR. Again, it is only a smidgeon. Here is a pic.
However, as you see, I centered my optic over both the hand guard and frame and used it as a lock to finish the hand guard installation by locking down the three bolt and clamp assemblies at the end of the hand guard. They actually clamp to the AR barrel nut and hold the hand guard in place. Now, looking back at my earlier problem, if you torqued the hand guard enough, you could probably loosen the AR barrel nut - Tacticool barrel nut adapter assembly again. It wouldn't fall off because of the above pictured tab, and it would tighten if turned back, so there really is no problem, but I left my optic bridging the gap and the set up is solid.
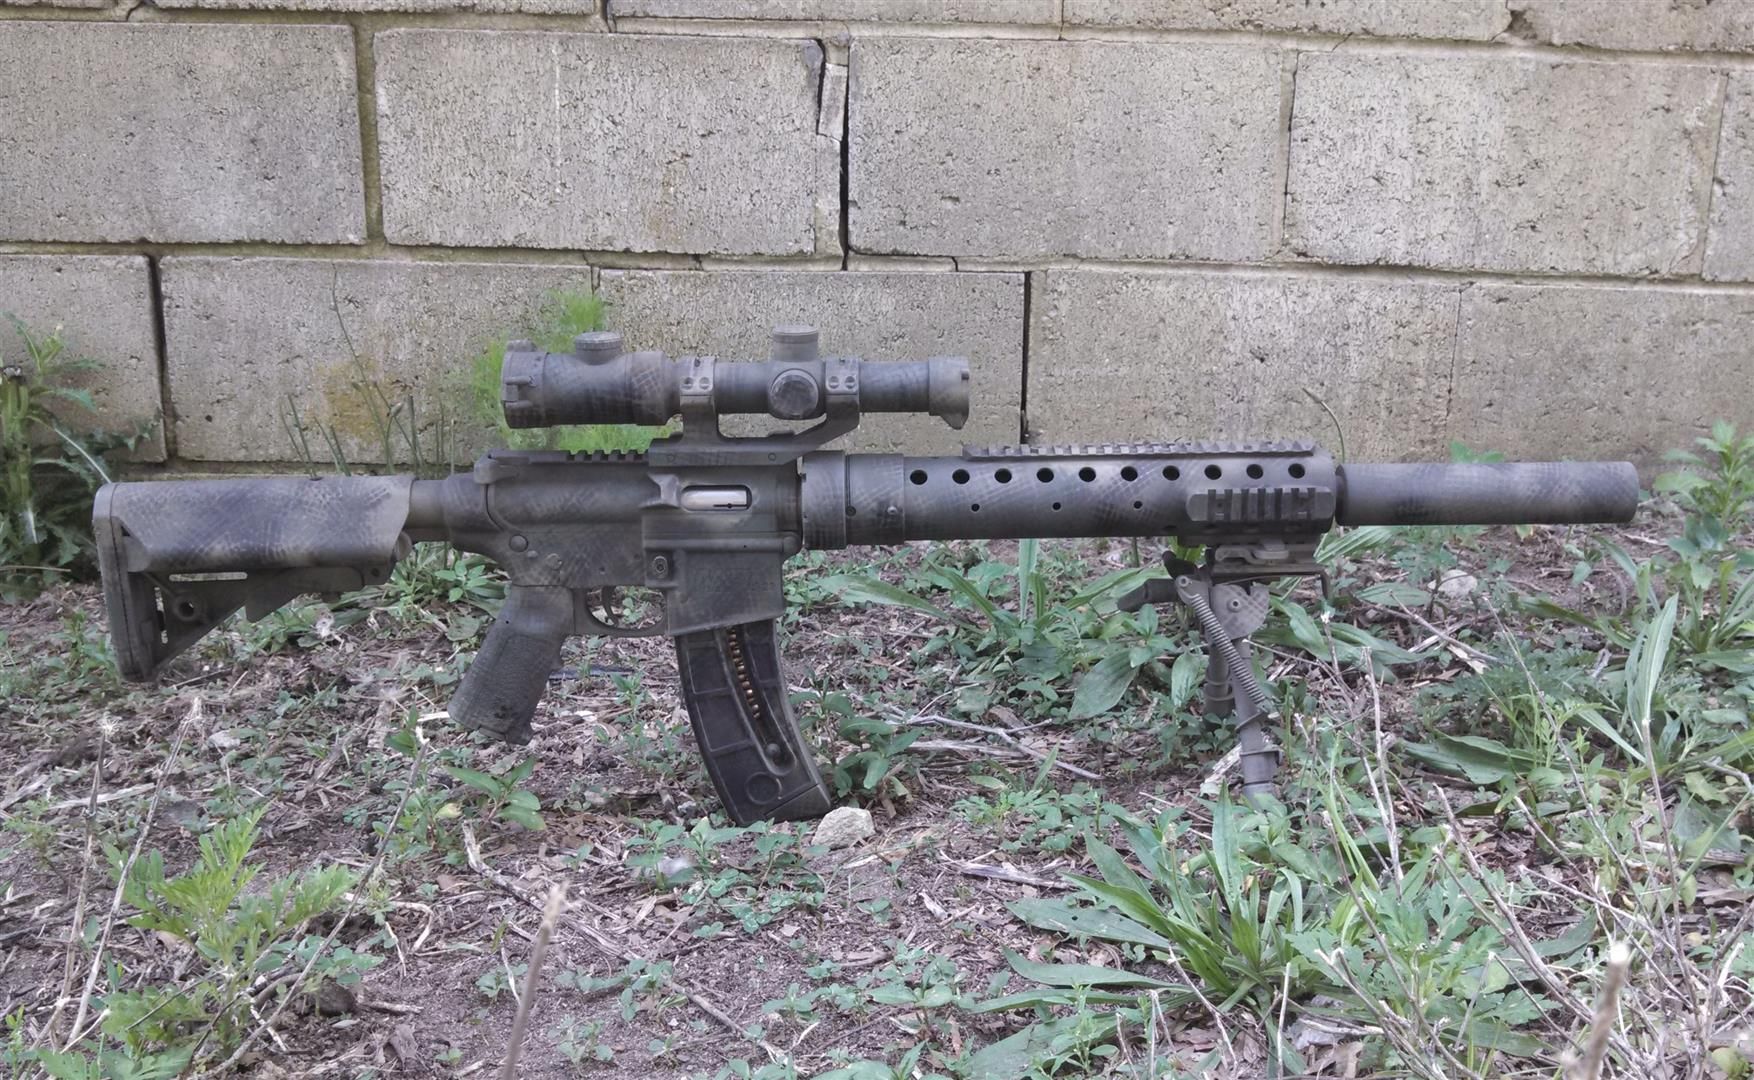
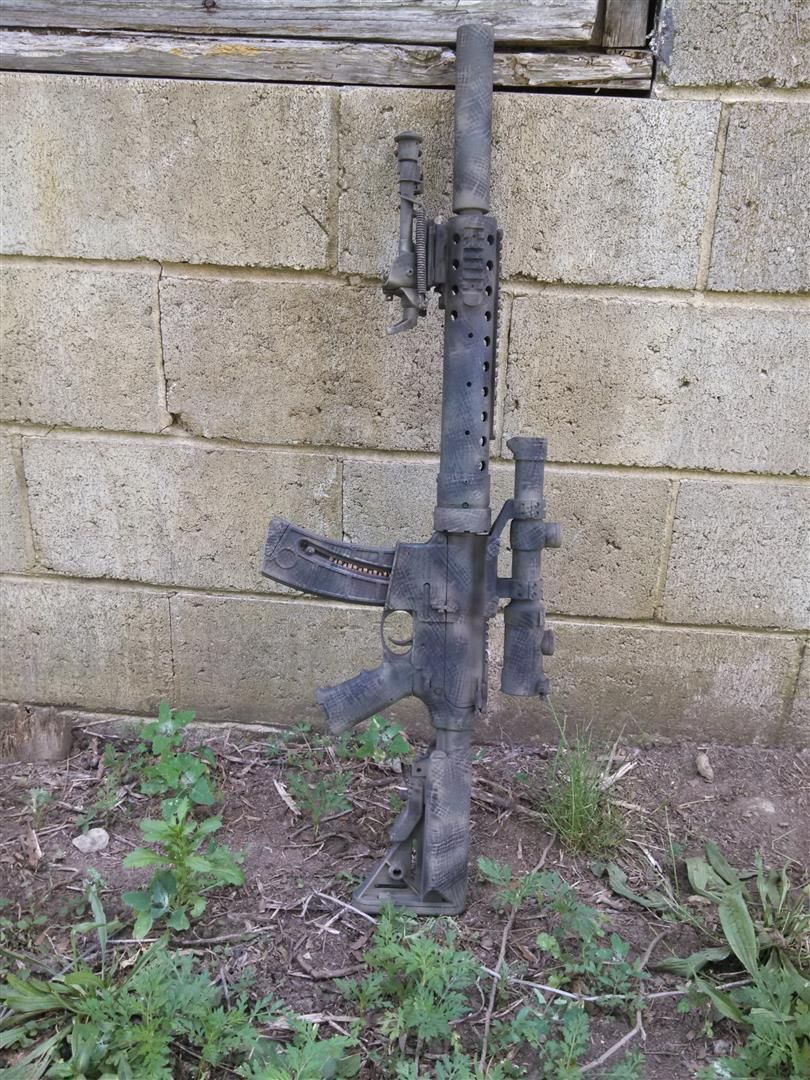
Sorry I didn't weigh the parts before reassembly, but this rail is really light. And it is noticeably narrower in diameter than most free float rails (I have two others, a Hogue and a DPMS, and both feel almost twice as fat.)
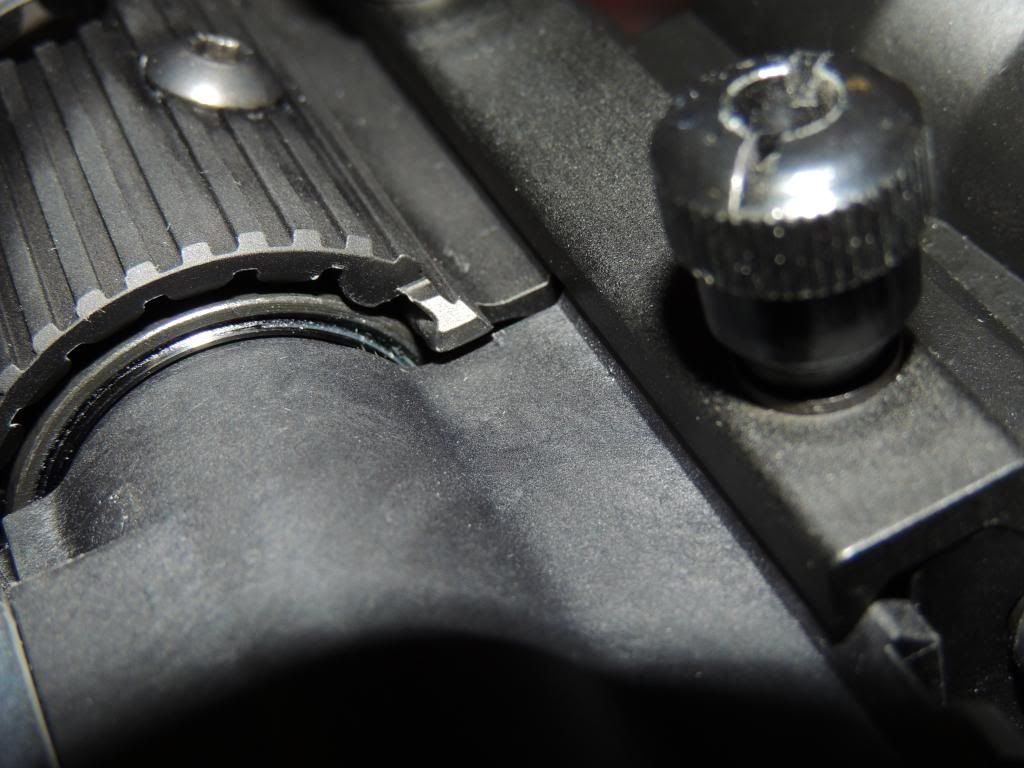
Here's a closer photo from the right:
And one from the left:

I really like this rail. Thanks to Tacticool22 for the stuff to do it!


 .
. .
.


 Linear Mode


