Lets see if I can't help get you squared away here...
First of all,
don't do any stoning, filing, or polishing on the decocker or the sear release lever. There is no benefit from doing any polishing or whatnot to the decocker. Further, any polishing etc. done to the top of the sear release lever will, at best, shorten how long your decock timing will remain within factory specs or at worse, take the decock timing out of spec and/or possibly disable the decock function entirely. You'd then need to fit or have fitted and timed a new sear release lever.
That being said, lets take a look at some of the parts...
Here we have a typical Ambi Manual Safety Body. When you actuate this lever moving it to the safe/decock position... as the lever rotates, this sharp edge I'm pointing at here presses rearward on the hammer lifting it out of the slide recess and away from the firing pin by about 3/32". I've heard/read of folks advising to polish or radius this area however this is not the area needing attention to correct a gritty or rough decock function. Also take note of the plunger on the left with the nice domed radius head, I'll get to that in a bit.
Now lets have a look at some hammers.
Here we have four different hammers... On the left is a MIM spurred part and the other three are wrought steel spurless. Note the burnished wear area I'm bracketing with the forceps which is actually pretty smooth.
When you cycle the decocker, that is the area swept by that sharp edge I pointed out above. Now lets have a look at those other hammers.
Here I'm bracketing the same spot on one of the wrought hammers. Here when you cycle the decocker, you wind up with a rather gritty feel as that sharp edge on the decocker rides up that rough surface .
Remember that plunger I said to take note of? Well for the regular decocker (ambi or not doesnt matter) there are three different plungers you can physically stuff in that little recess. However, only one of them will work right.
Here they are...
The one on the left with the spring and the nice even radiused domed top is the correct part. The others two are different variants are used for retaining the right side ambi lever.
Having the wrong plunger in there will negatively impact the smoothness of the decock function. Mind you that it's very easy to mistake that middle one for the correct part. I've even had parts suppliers mix them up.
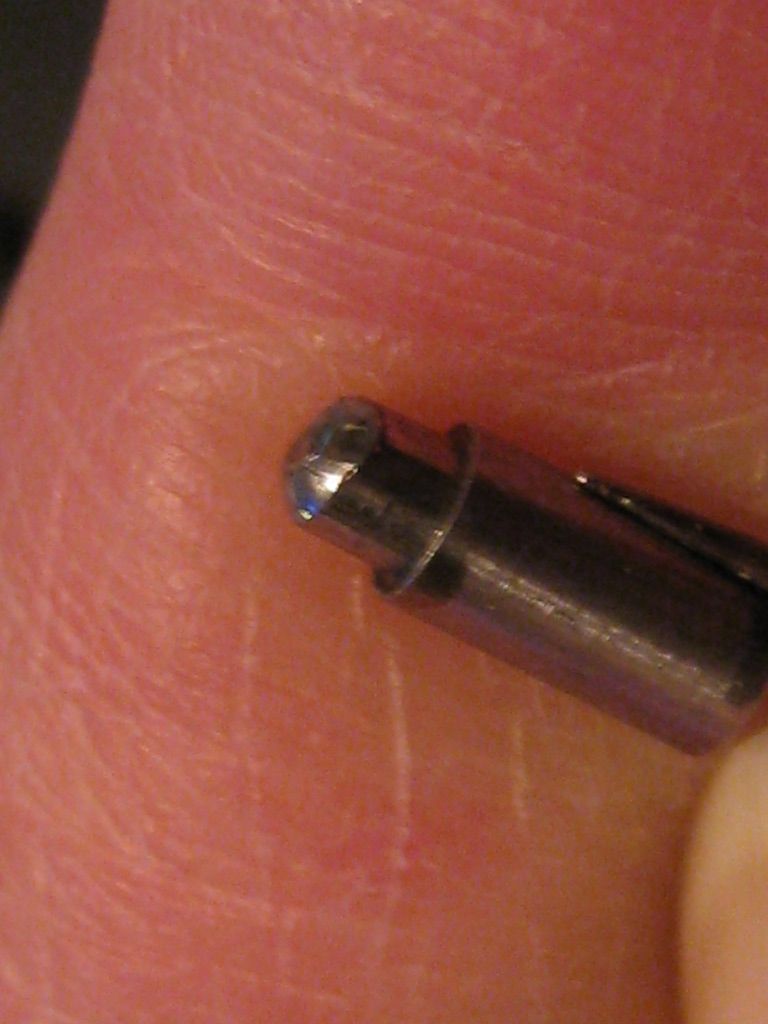
Also check this out...
Back when I took delivery of the PC4506 I noted it had a terribly gritty decocker. I pulled it apart and found this chewed up worn out plunger in there.
Swapped in a new correct part with the correct domed radius and a fresh spring. Buttery smooth like new

So in the end here's what I recommend.
First, check and make sure you have the correct plungers installed and replace any that are damaged or worn out.
Then if that doesn't completely correct the problem, I'd examine the hammers for roughness in that area I indicated. Depending how bad it is, some careful stoning may correct it. If it's really rough I'd not hesitate to bin the hammer and swap in a MIM replacement.
For what it's worth, and I am no great fan of MIM but... among my 3rd gens, with one exception my guns with the smoothest DA pull and slickest decock-only function I built up using MIM components. In two cases I swapped out flash chromed wrought parts that I really wanted to use when I just could not dial in an acceptable action feel using them so I binned 'em and installed the MIM stuff. I have to admit the MIM stuff has a superior uniform finish and requires little to no intervention on my part to yield buttery smooth function.
Cheers
Bill