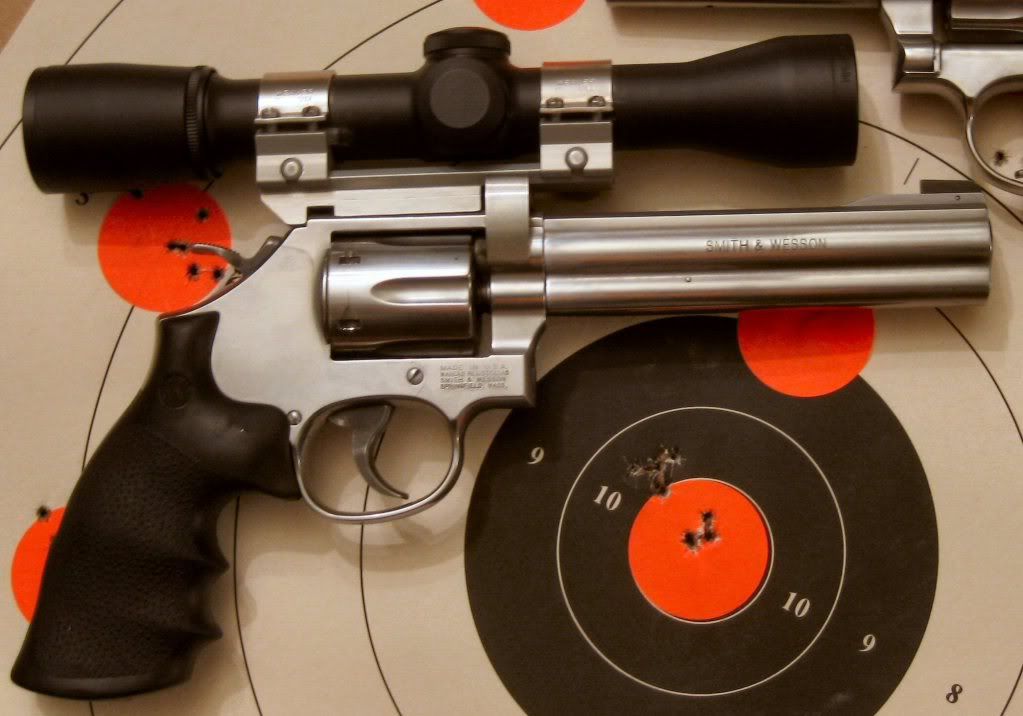
Since S&W didn't start drilling and tapping for a mounting rail until about 1993, your gun is not compatable with a modern rail. However, there are mounting rails available than combine clamping on the top strap with using the 2 lower sideplate screws.
One of these is Aimtech, who is still in business and has a web site for convenient ordering. Back in February I purchased a used model 617 equipped with an Aimtech mount and it works well. It also has a co-witness feature that allows you to keep the rear sight assembly mounted on the gun and use the iron sights. Although it is a bit like peering through a straw, it does work and makes initial sight in a lot easier.
However, the front screw, which retains the crane the cylinder is mounted on, only had 1 1/2 turns of thread engaged, which made it VERY easy to strip. Because of concern about stripping the threads in the frame, I purchased a 4mm thread by 6mm long metric cap screw and hand shaped it to make a new crane retention screw with more thread engaged. Basically, I chucked it up in a drill, and used a bench grinder to put a 45 degree tip on the end of the screw and get the length exactly right. I also had to reduce the diameter of the head to fit the smaller than standard counterbore in the mounting rail. Good news that I now have a full 3 1/2 turns of thread engagement and am a lot less worried about stripping this screw. Hopefully, in the nearly 20 years since my mount was made, Aimtech has followed suit and increased the thread engagment for this particular screw, which is constantly being removed and replaced for cleaning the gun. If they haven't, be very very careful to not overtighten the crane screw and have a gunsmith or machinist hand fit a suitable replacement ASAP.
Link to the Aimtech mount.
Revolvers
Another option is to have the top strap drilled and tapped for the current rail mount. Because I find the Aimtech mount a bit ugly, I took my older model 67 and 617 revolvers into work and drilled and tapped them for the new standard rail mount. Before doing this I took the time to measure the hole placement that S&W is using currently. BTW, the tap size is #6-48, which is not a standard thread series, it's in the extra fine pitch series and taps can be hard to find. Good news is that Brownell's carries this tap in both plug and bottoming profiles. Because I didn't want to risk breaking off a bottoming tap, I used a plug tap and shifted the pattern 0.025 inch toward the rear of the frame to insure the tap just missed the back of the barrel on the 67 and 617. BTW, on the 617 the tap just barely nicked the rear face of the barrel, only enough to scrape the carbon off but not enough to actually mark the barrel after a cleaning. Based on this I would advise using an offset of 0.030 inch for 38 spl. and 22LR revolvers or taking the time to use both a plug and bottoming tap in order to avoid having to run the tap past the end of the barrel. I also used a 0.120 diameter ream to insure the pre drilled hole was perfectly on size for tapping, when you break a tap this small it gets VERY expensive to remove. On the 357 Magnums and any other gun with a longer cylinder, this would not be required. Pattern was measured from the vertical face of the notch cut into the frame for the rear sight assembly. Hole centers area for the standard pattern measured as follows on both my 610 and 620. The front hole is 1.800 inch from this face, the middle hole is 1.200 inch from this face, the rearmost hole is 0.535 inch from this face.
While you indicate that you don't want to drill and tap your guns, you may not need this information. However, others reading this thread might so it's there for all to see. I'll also note that I am a Mechanical Engineer who started out as a Machinist, so I have the skills and knowledge to do it myself. In addition I have the full run of the machine shop at work. For those thinking about doing this themselves at home by hand, I would advise to stop thinking that way. Breaking a tap this small will cost a minimum of 90 dollars to have extracted using the EDM process and # 6 taps are VERY VERY easy to break, all you have to do is sneeze. All told with taking measurements, dis-assembly, re-assembly, and time on the mill, it took me a full 3 hours. Take the measurements into a qualified gunsmith or machinist and just pay the 15 bucks a hole it costs to have it done.


 Linear Mode


