HomeSmith TrainWreck: Summer of 67

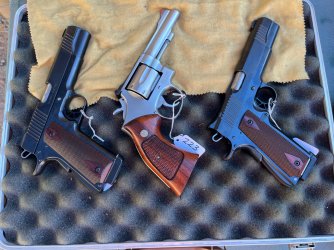
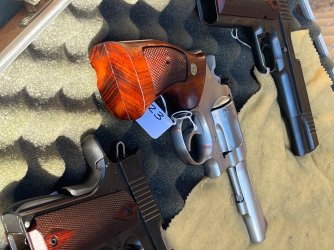
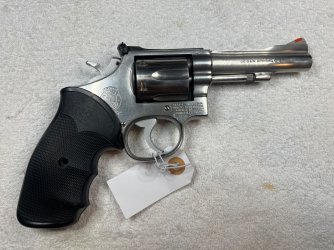
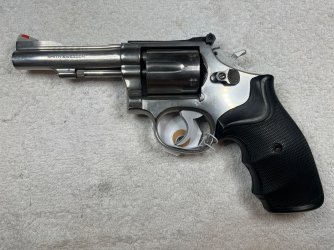
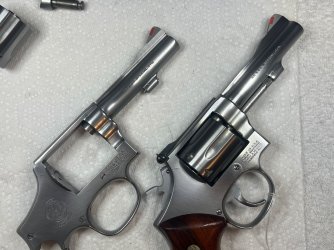
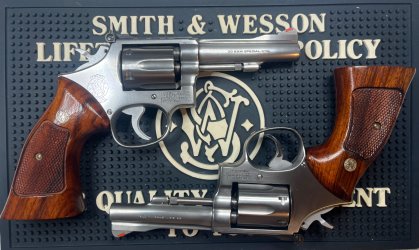
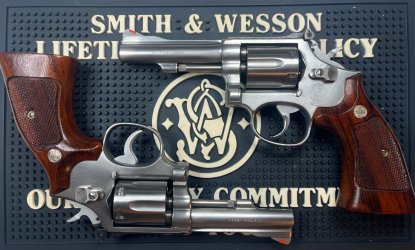
To close out the first 67 before we start the second one, here are some natural light pics with the two bottom feeders from the other thread:

IMG_9225.jpeg

IMG_9242.jpeg

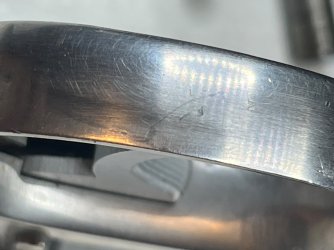
If you zoom in on the second picture, what appears to be a mark inside the trigger guard is actually a reflection of my face as I took the picture.

Here are 24 shots, mixed single and double action, standing at 10 yards. And yes, there were two sight adjustments in there: it started at 7 o'clock, I overcorrected to 2 o'clock, then split the difference.


IMG_9249.jpeg
 
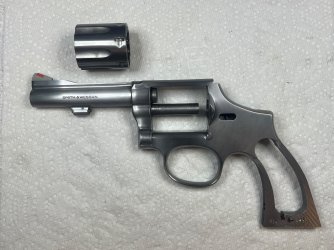
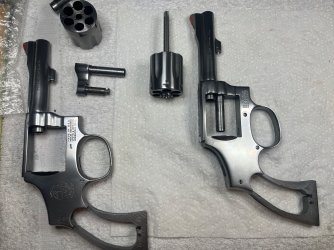
2152hq's post was inspiring, so while SWMBO took her afternoon siesta I got started on #2.

IMG_9250.jpeg

IMG_9251.jpeg

The only issue found during the inspection was a 10 lb DA trigger pull. Ick.

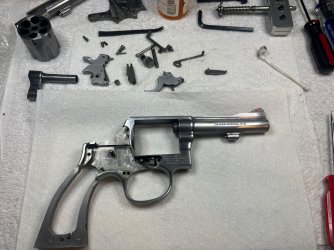
The insides were moved to the outside and the next few hours were spent fixing dings, dents, and scratches. I found that I got a better final result on the scratches and dings by going all the way to 600 grit sandpaper and then stepping back to the 400-ish grit maroon scotchbrite.

The sideplate scratches required 120, 220, 320, 400, and 600 sandpaper and then the maroon pad.


IMG_9257.jpeg


IMG_9289.jpeg


IMG_9258.jpeg

IMG_9290.jpeg

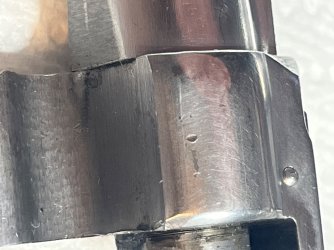
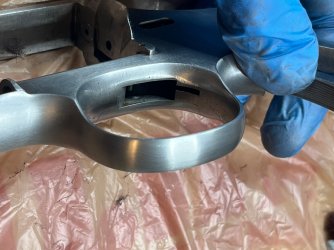
The divots in the left side and the trigger guard required file work and then the same sequence of abrasives…


IMG_9256.jpeg

IMG_9292.jpeg


IMG_9260.jpeg

IMG_9300.jpeg


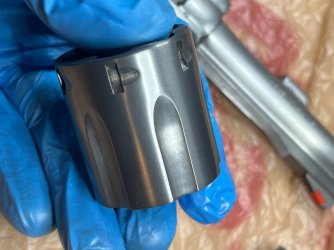
I haven't done the cylinder yet. Tomorrow evening will begin with that, and then once all the fixing is done we'll start the refinish.

For now I'm going to go enjoy a bowl of ice cream with my sweetie.
 
The 67-1 No. 2 (why do I feel British when I describe it that way?) has been hard scrubbed, medium scrubbed, and light scrubbed with both 7447 maroon and 7448 grey scotchbrite.
IMG_9347.jpeg

It's time to start thinking about 2152hq's burnishing technique.

I wanted to have an idea of what I was getting into before I started, so I set up a test using a leftover barrel from a model 64.

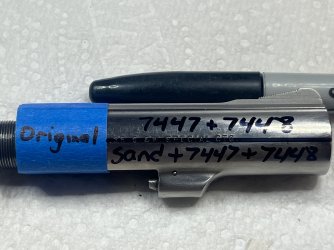
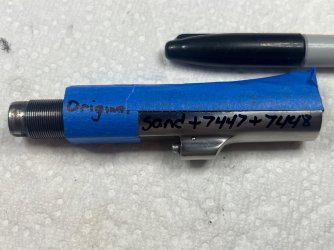
Step 1 was to tape off part of the barrel so it stayed untouched for comparison. Next, I layed out a test pattern to try 4 different finishing combinations. I needed to know if there was going to be a difference in the final finish between areas that had to be sanded for scratch and dent fixes and areas that were only scrubbed. I also needed to know if both scotchbrite grits were necessary.

Here's how the test pattern broke out:

IMG_9364.jpeg

IMG_9363.jpeg

After figuring out the pattern, the top half was taped off so I could sand the bottom half with 120, 180, 220, 320, 400, and 600 grit paper.

IMG_9365.jpeg
After the bottom half of both sides was sanded, the top piece of tape was removed and the entire exposed areas of both sides were scrubbed, one side with 7447 only and the other with 7447 and 7448.

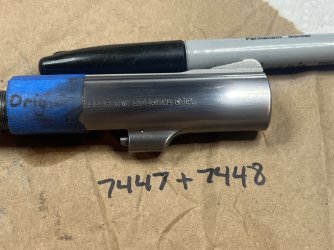
IMG_9371.jpeg

IMG_9374.jpeg

At the drill press with the carding wheel installed, I used enough WD40 on the metal to keep it wet but not so much that the wheel threw anything noticeable onto the target I put behind the wheel as an indicator.

I kept the pressure on the wheel very light and moved the piece quite a bit in random directions. I had to re-wet the barrel several times on both sides by putting a couple of drops on and smearing it around with my fingers. I used the reflection of the lights off the steel to judge the wetness.

Finally it was the moment of truth. The tape covering the original finish was removed and we had this…

7447 only:


IMG_9395.jpeg

7447 + 7448:


IMG_9396.jpeg

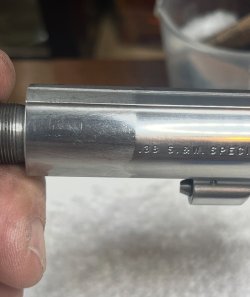
To be really clear, the area closest to the threads is the original finish.

Wow

Stay tuned for how the gun turns out. I won't have time tomorrow night but Saturday morning we'll be burnishing.

Edit because I forgot a picture: Here's the test barrel next to the gun as it is now…
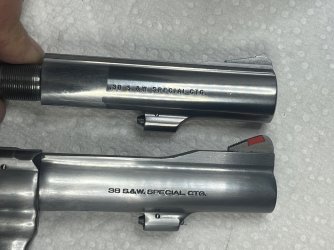

IMG_9393.jpeg
 
My primary reason for waiting until today to burnish No. 2 is that my drill press is not in an air conditioned space….and I live in Phoenix. :oops:

Here's a before picture…
IMG_9403.jpeg

And an after …

IMG_9405.jpeg

Of course I had to put No. 2 next to No. 1 for a comparison…

IMG_9407.jpeg

Which then led to stripping No. 1 down so that it could be burnished.


IMG_9409.jpeg

Which is the prelude to saying "2152hq was right" about the burnishing making any flaws jump out. I didn't notice until after the burnishing was done that No. 1 had a spot on the sideplate where I hadn't turned the corner with the scotchbrite and there was a visible change in the way light reflected.

The right side of No. 1 was scrubbed with all 3 grits of scotchbrite and burnished again. Mucho better-o.

After taking a few minutes to put No. 1 back together, the action work on No. 2 was ready to begin.


IMG_9413.jpeg

The action job was very straightforward except that No. 2 had an unknown aftermarket rebound spring installed. I took a SWAG at how much to trim from it and came out 1/2 lb higher than where my triggers usually land. Double action is 7 1/2 lbs, single action is right on 3 lbs. I'm going to try it that way and if it bugs me I'll get back inside and get rid of that extra 1/2 lb. It's all in that rebound spring so it'll be an easy change.

No. 2 arrived wearing a pair of crocs and needed a real pair of shoes. I used a 10-penny nail to scratch "Mike Helms is the man" into a Taurus sideplate, snorted a line of Alcan #7, and shadow-boxed my way to the pile. My offerings were accepted and a pair of almost not bad stocks rose to the top.


IMG_9423.jpeg

IMG_9424.jpeg

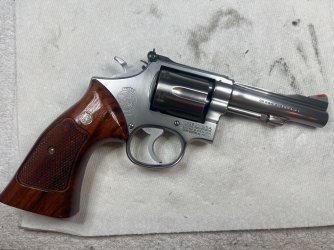
Here are the twins together:


IMG_9431.jpeg

IMG_9430.jpeg

I'll force myself to make a range trip tomorrow to make sure they're both ok, and then it'll be time to move on to something new.
 

Latest posts

Back
Top