Posting this even though I'm waiting for tools to arrive just so that the wailing and gnashing of teeth about what happened to this poor thing can commence....
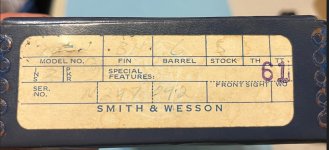
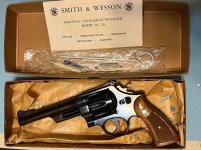
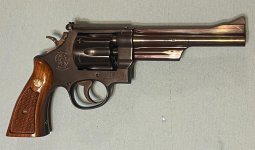
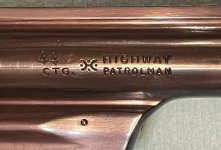
Project Name: The Highwayman
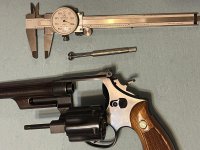
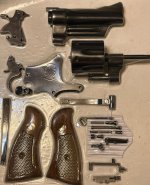
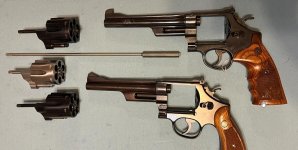
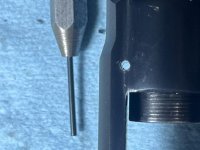
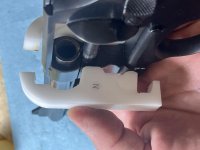
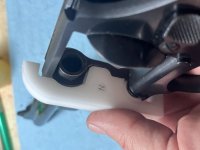
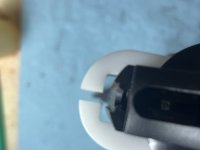
Here we have a really nice package: a 6" model 28-2 Highway Patrolman in the correct numbered blue box with the papers and an unopened tool kit. There's just a touch of plum coloring but overall it looks pretty awesome.
Project Name: The Highwayman
Here we have a really nice package: a 6" model 28-2 Highway Patrolman in the correct numbered blue box with the papers and an unopened tool kit. There's just a touch of plum coloring but overall it looks pretty awesome.