I know at least a few of you are fruitlessly hunting for the little 10 round buggers so I thought I'd leave this here.
I decided I had to have a small mag and wasn't about to pay the $80 price tag on gunbroker, so I made one. The 32 round promags are about $20 shipped if you buy 4 of them and don't mind waiting 6 weeks, and you'll probably only need 1 to get it right

. I had only read of plastic "welding" a few times, but had no trouble with this project.
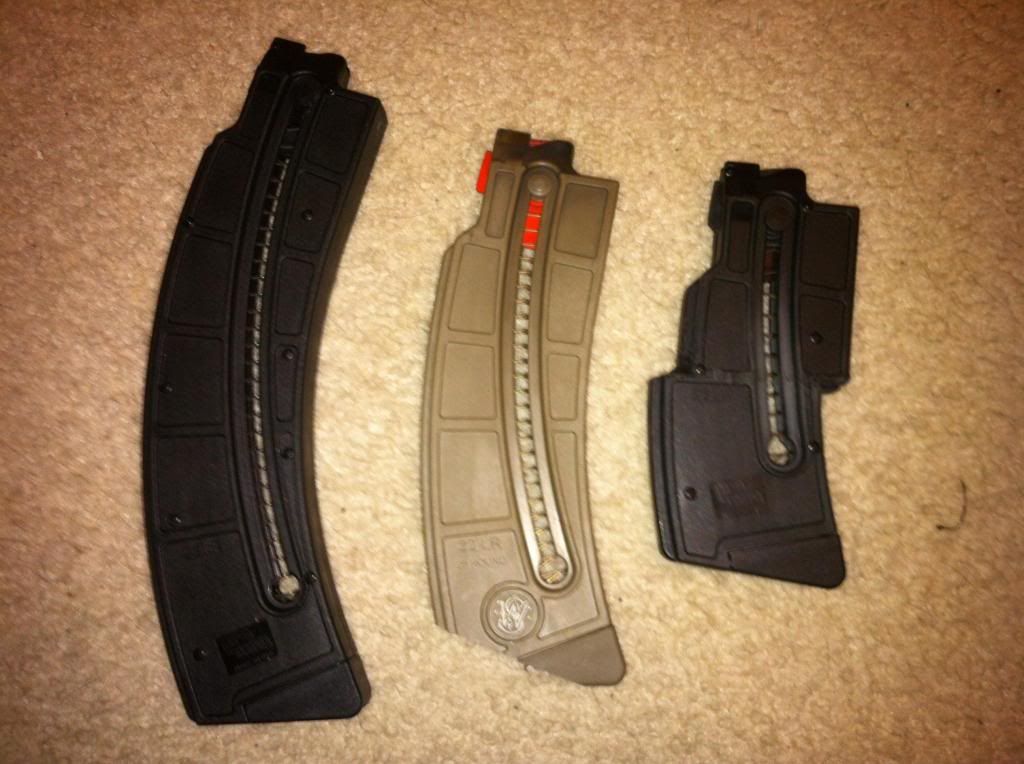
Left is promag, middle is s&w mag I have hacked on a little, right is my mag.
What I did:
1. Disassemble, remove guts
2. Make two cuts to remove desired length from middle. I eyeballed the angles and decided to cut on the lines, since it appeared this would line up the pieces nicely. As it happens my eyeballing was pretty darn good, but not necessary - once I started welding it didn't matter how nice my cuts were. I used a miter saw, mostly because I had a good one available. I'm sure you could also use a band saw, but be mindful that the cut/melted plastic will rebond to itself very quickly. Anything that will make a quick accurate cut is probably fine.
3. Line up remaining sections and "weld." I used an old ****** soldering iron, and was surprised how well it worked. I began by touching the seam of the two sections just to tack the pieces in place, then went to town.
The two main methods are beading and stripping. Both work just fine, but I recommend cutting pieces out of your excess mag parts with sidecutters roughly in the shape you desire and then welding them on ("stripping"). Beading is better for filling a seam or hole. I discovered after about three seconds that the preferred soldering method of heating the contact to accept the solder was a horrible strategy. The parts of the frame you want to keep are going to heat enough to create a bond anyway, and if you heat them directly they'll begin to look like **** quickly. You're better off thinking of yourself as welding with both additive and subtractive methods.
4. The plastic takes only seconds to dry, so you're ready to reassemble and sand as necessary as soon as it's cool enough to handle.
5. Cut the spring appropriately for your new sized mag
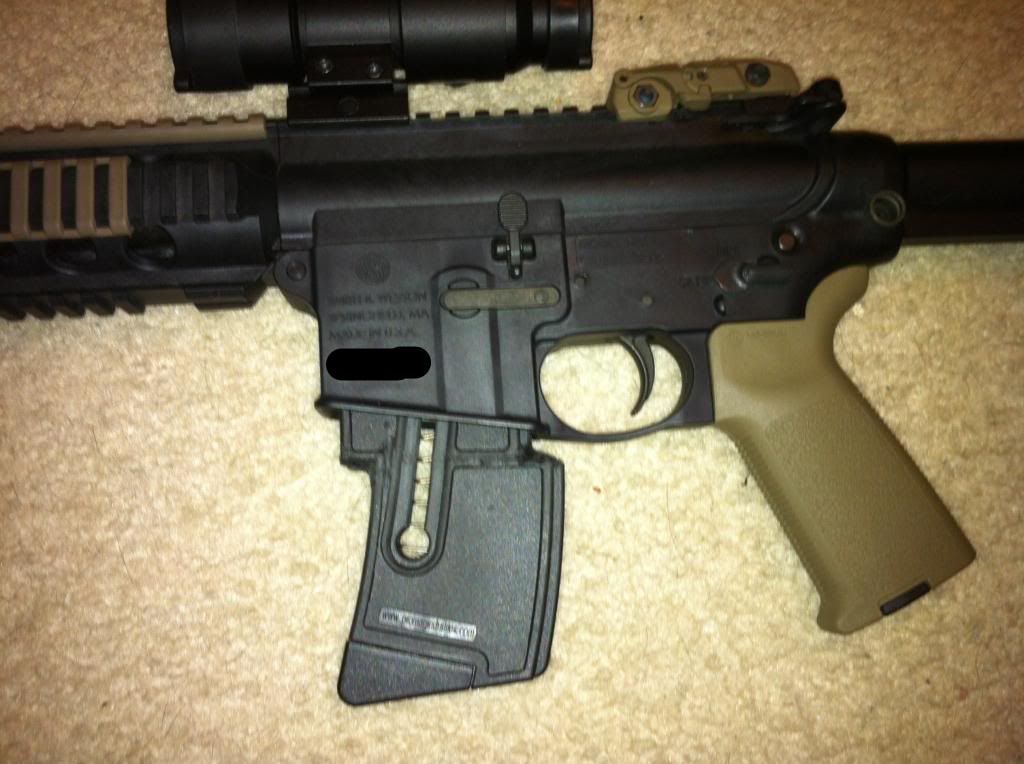
Took me around 2 hours total, but that was insomnia putzing and doing dumb stuff listed below. I strictly eyeballed this and made no measurements, and other than the fact that it looks like **** I'm happy with the results: mag works great! I would anticipate most of you could do a better job in under an hour. Happy to explain any details or answer any questions I can!
Mistakes I made:
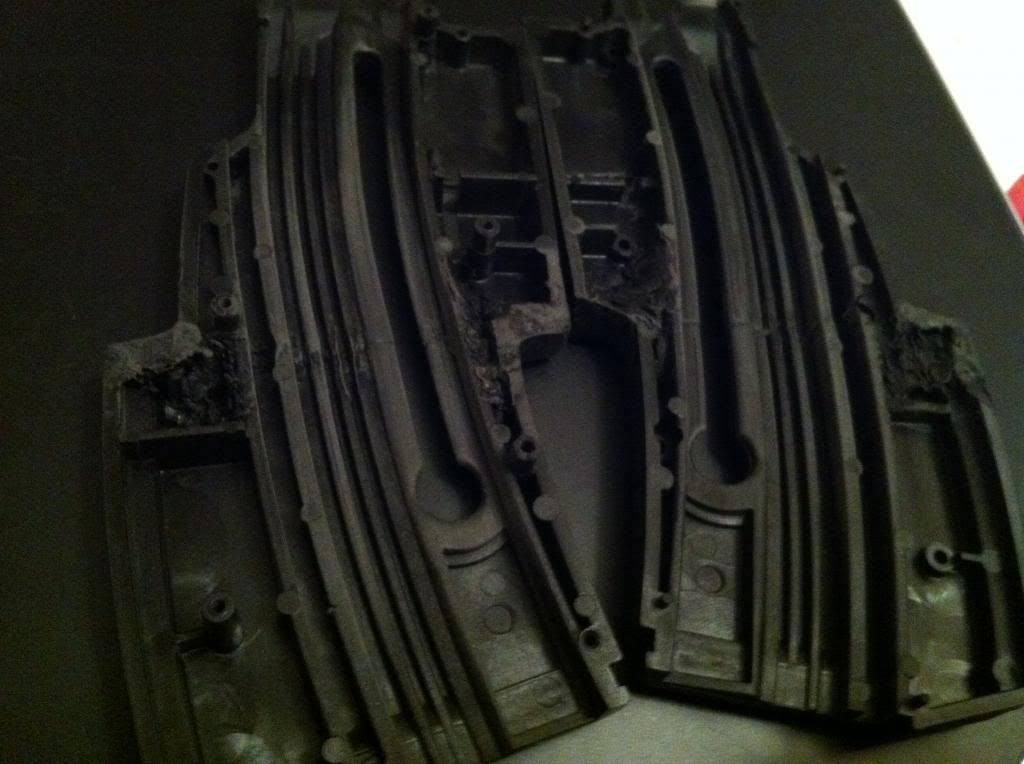
1. I cut out metal strips I intended to use to reinforce the mag and actually grinded out plastic to place them inside the mag once I started welding. This ended up being a colossal waste of time, as the welded mag is sturdier than I imagined.
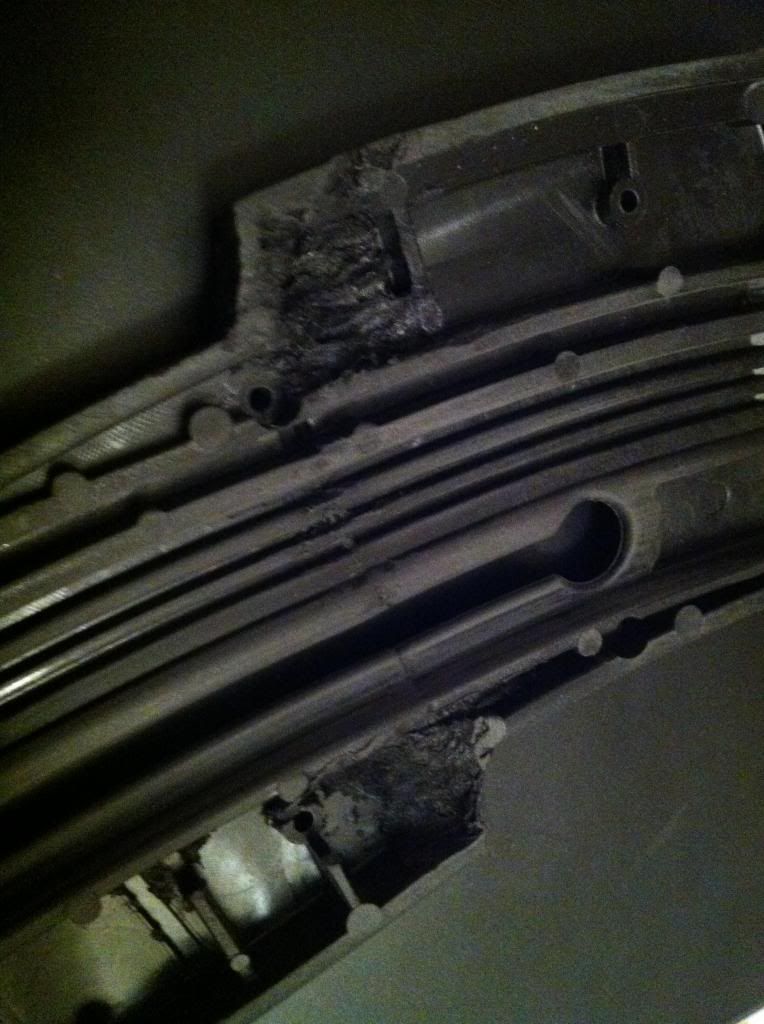
2. I took about equal amounts from the top and bottom of the mag. In hindsight, I would not do this again. Instead, I would advise you to make your bottom cut here, and then take however much you desire from the top:

It's going to look like **** no matter where you cut, but cutting here will save you unnecessary work later. It turns out the ammo channel actually changes shape and dimension ever so slightly. I thought I could fudge the channel smooth with my soldering iron. You might have better luck with a chisel tip or just a new tip that doesn't heat unevenly, but I did more harm than good. After a little sandpaper love the follower and ammo feed through just fine, but if you cut at the bottom the follower won't need to pass through your cut/welded seam and there will be no need to work inside the channel at all. Like mine, you will still preserve two screw holes, and strength should not be affected.
3. Since I was guessing for about half the size and capacity of the promag, I cut the spring in half. I've realized since that my s&w mag has a few more turns in it and is a bit snappier. Even though my new mag feeds just dandy, I'm a bit concerned that over time it might lose some spring. I would guess and check a bit more next time and not hack things apart during insomnia hours =). You can always cut another turn off, but it isn't so easy to add.
4. I decided to preserve the ability to disassemble my mag by welding the halves separately. It proved to be a good idea as I ended up test fitting and adding more plastic a few times, but if I was going for form as well as function or was worried about strength I wouldn't bother next time. If I made the cut as I now suggest, there would be no reason to fear lack of function, and it would be faster and easier to create a sound, pretty mag if I just bonded the whole thing together.


 Linear Mode


