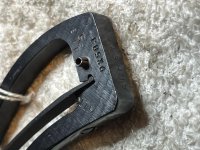
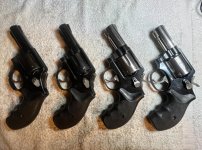
Projects Short & Sweet and Short & Stout taught me the joys of the 3" heavy barrel, round butt, fixed sight K frame. Both of those guns were intended to be fancier than they are, but they both shot so well with their original barrels and cylinders (even though they were crusty, torn up, and nasty looking on the outside) that I just couldn't justify taking apart a pair of 3" guns to make another pair of 3" guns. That meant that the parts kits have been languishing in the pile for many months.
Recently a couple of prospects wandered into the price range of a nice Trainwreck and joined the stable. It was time to do something fancy.
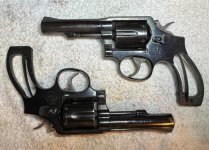
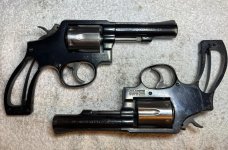
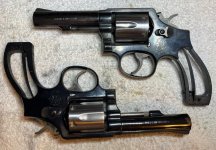
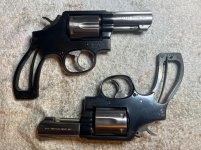
Project name: The Wonder Twins
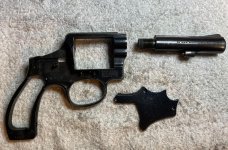
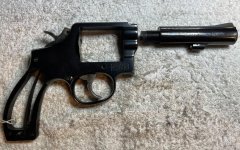
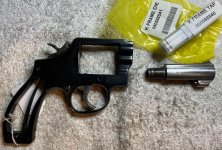
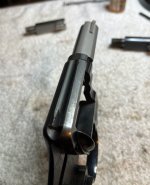
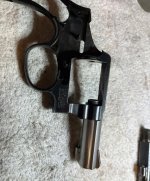
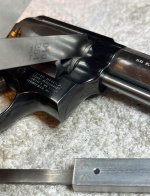
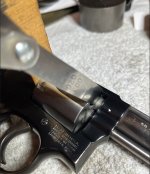
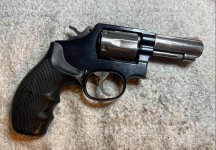
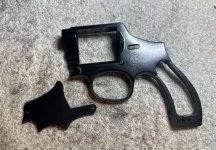
The Wonder Twins are a pair of round butt, 4" heavy barrel model 10-8's. Twin 1 has a much nicer finish than Twin 2.
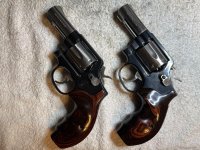
Recently a couple of prospects wandered into the price range of a nice Trainwreck and joined the stable. It was time to do something fancy.
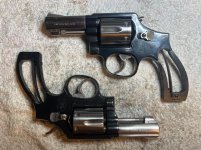
Project name: The Wonder Twins
The Wonder Twins are a pair of round butt, 4" heavy barrel model 10-8's. Twin 1 has a much nicer finish than Twin 2.


")