I’m in need of a tutorial on working a Scotch Brite pad on a 686-3 2.5” that has some serious scratches. I have photos in the 1980-present section.
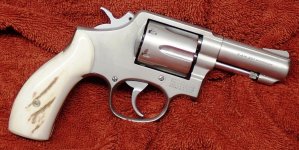
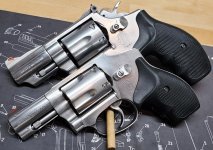
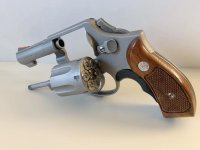
It’s at the gunsmith now getting a deep cleaning and the action smoothed up. He gave me a red pad to use, I don’t want a high polish look at all, closer to the frosted of the 64 NY-1 or the light bead blasted look my late dad had done on his 686 no dash.
Has anyone done a short video? I’ve always been more of a visual learner. Also any photos of stainless revolvers that have received the pad treatment that aren’t high polish greatly appreciated. Thanks very much.


")