Here's how it came out. The name plate at the top mounts using the embedded magnet.
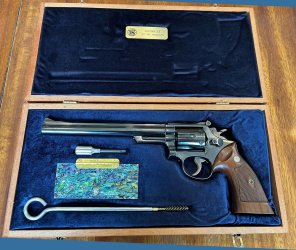
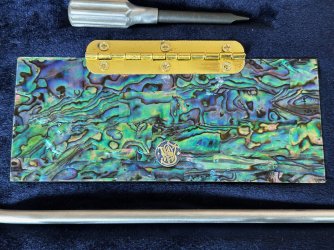
Originally I was going to use Carpathium elm burl for the lid but the veneer didn't arrive in time, so I used some abalone I had. I used a dremel tool and a buffing head to swirl pattern the opposite side of the brass. The knob was from an old case interior. I am going to make up some of my own using grip emblems.
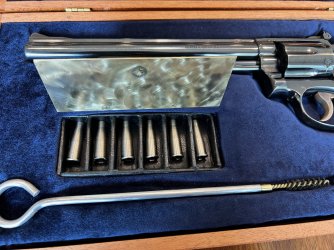
Over time, the pressure of the case will mold the top to the gun and other parts. Everything fits perfectly and we have a nice, secure and enduring case interior. best of all, you can put anything in there you like.
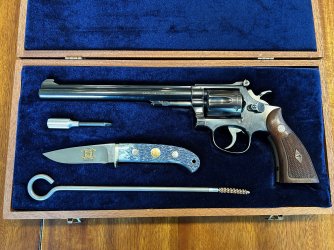
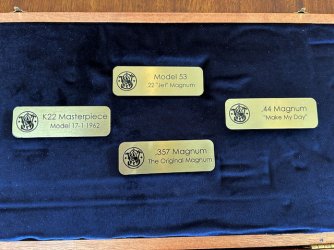
The great thing about magnetic name plates is you can change them as you need, add names, dates, whatever you like.
On to the next project!

Originally I was going to use Carpathium elm burl for the lid but the veneer didn't arrive in time, so I used some abalone I had. I used a dremel tool and a buffing head to swirl pattern the opposite side of the brass. The knob was from an old case interior. I am going to make up some of my own using grip emblems.


Over time, the pressure of the case will mold the top to the gun and other parts. Everything fits perfectly and we have a nice, secure and enduring case interior. best of all, you can put anything in there you like.

The great thing about magnetic name plates is you can change them as you need, add names, dates, whatever you like.

On to the next project!
