A great example of a beautiful engraving job done with minimum of tools but a very experienced engraver and perfect layout.
Very simple scroll/leaf & vine pattern, one that is/was very common to German & Austrian engravers.
This one was cut using but one chisel for all the line work.
The Shading was all done with just one 'Liner Tool'. That a graver that cuts multiple parallel lines.
They are commonly used but uncommonly used to their best advantage.
Here the engraver did use it well in that the graver was tipped up onto one edge to start and then rolled down as the cut continued. This produces a single shade line to start but then gradually adds more shading lines as the cut continues.
The engraver can then roll the tool back up again ,,to either side and make those additional shade lines start to fade away and back to just one and then nothing.
It takes practice to do that as well the mind set to want to use the tool that way.
Usually you will see the liner tool used in just making squared end cuts at full tool width here and there to add some(thing) to the pattern.
The background was stippled with a small dia hollow punch. It was used very carefully so as not to cover the engraved line(s) that were first cut to make the scrolls/leaf/and vine elements.
That way the bold cut lines remain and outline those parts of the pattern.
If the stippling is done right up to the leaves & vines, it will visually make them much smaller when viewed and in most instances ruin the final appearance of the pattern.
You can retrieve the look but only by going back and re-cutting all those lines you stippled over. Hard lesson to learn, but that's how it usually works!
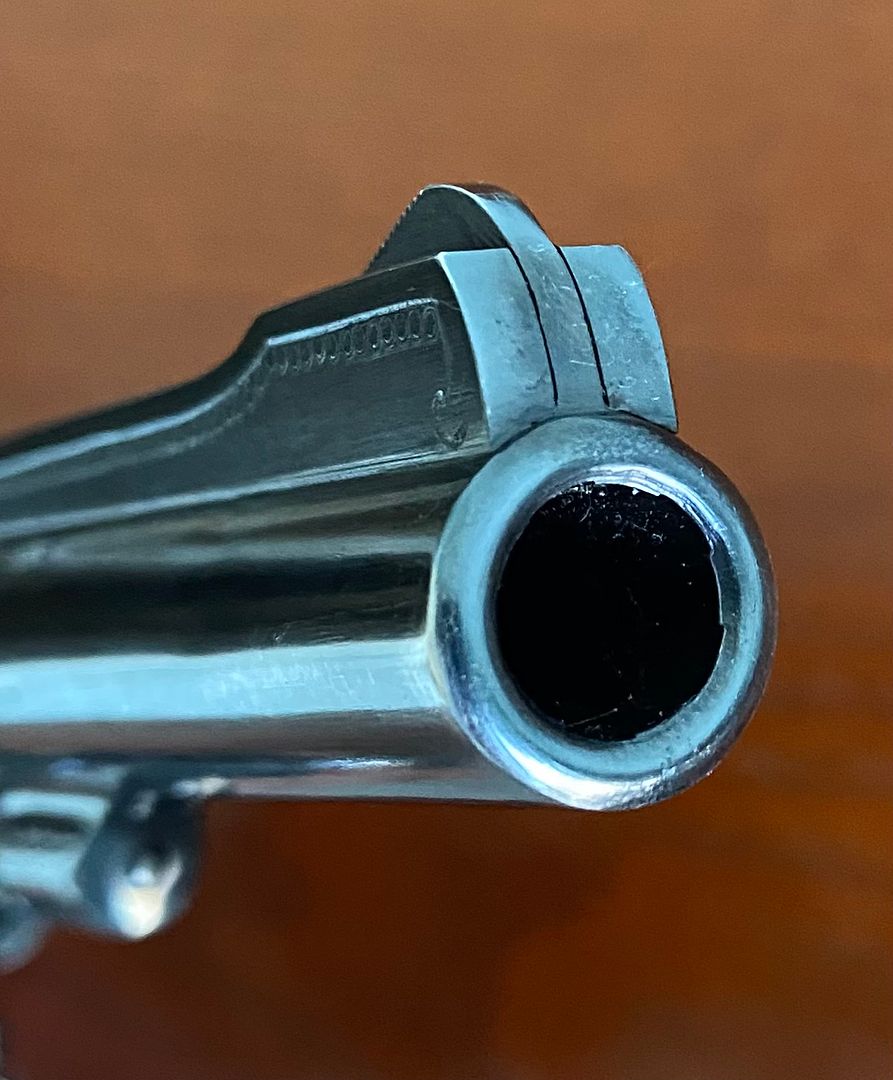
Another larger dia hollow punch was used for a couple decorative borders on the gun,,the top strap for example.
Those hollow punches at the time were generally made by the engraver at the bench.
That's the way I was taught and still make them. But most engravers buy them now from supply houses. A couple engravers were shocked that I would take 'precious time' to actually make a punch. Oh well.
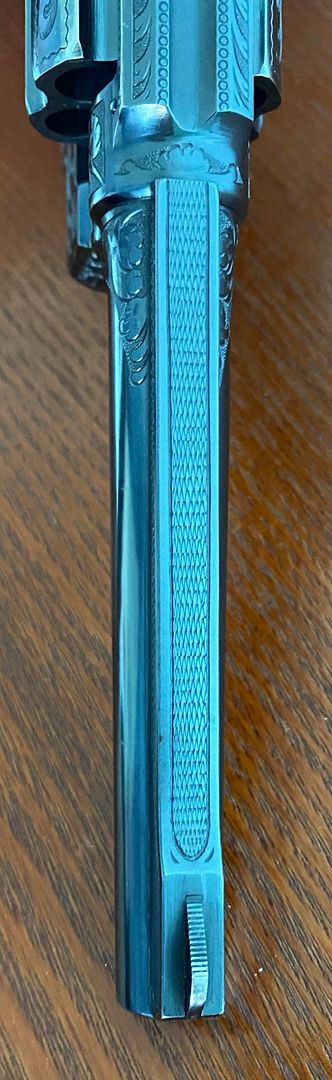
The matte pattern on the added rib on the bbl may look like it was done with a machine of some sort, but is actually done by hand with the common Wriggle Cut .
The same engraver cut many know from the Wolf&Klar engraving.
This time it's done with a much wider Flat graver and done with more pressure and very steady & even pressure to ensure the pattern is even when complete.
The two lengthwise borders are cut first by hand. Then the across the rib Wriggle cuts are done, one next to the other.
Lightly scribed guide lines are often placed on the rib at right angle to the length to keep the engravers cuts art at angle to the rib.
The graver will walk off the edge and into the border cut usually and sometimes leave a small burr at the start side border as well.
When the entire length is complete, another cleanup cut is done up and down each border to even them up and remove any/most of those small dings.
This was a common method of matting SxS shotgun and DR bbls up to WW2 in Europe, so it wasn't anything new. Though machine done patterns were used as well.
Different patterns were used, some as simple as going straight up the rib and back down with a fast Wriggle cut.
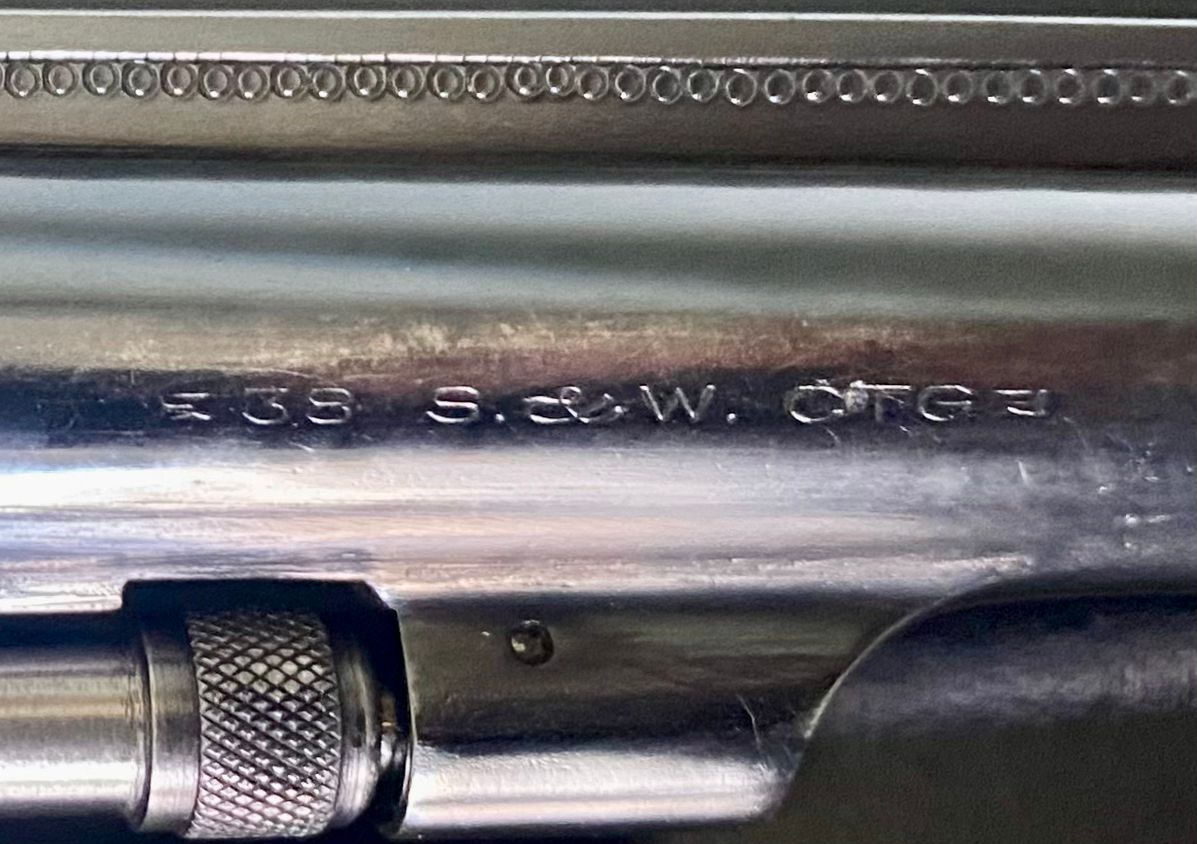
The metal is soft, like Cold Rold Steel soft. It cuts very easily.
The revolvers cut nicely too.
Wish they all did!


 word salad