Hi There,
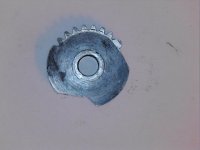
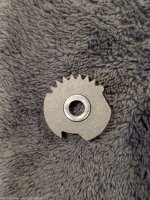
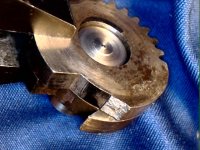
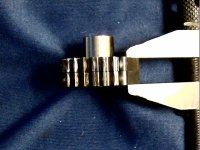
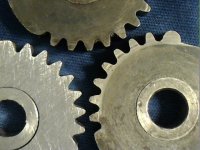
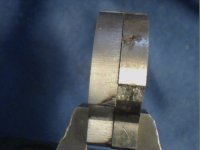
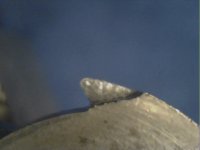
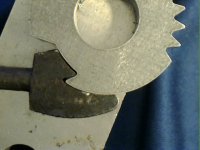
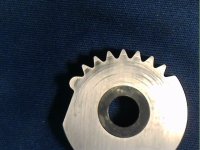
Webb, I'm afraid that I would take the chance on this cam gear. Although the teeth look 'sharper' than your original, the pitch and tooth count look correct. I can't tell you how to spend your money but, the worst case is that you will be out a few bucks and your revolver will still need the cam gear. I would risk the money, as IF it works, (and I think it will) your revolver will be fully functional. Let me know the seller as I may need parts in the future.
Well, I am leaning in that direction but it didn't hurt to ask for ad-
vise. There was someone here that used a service offering "micro
welding" and I was wondering how much that might cost.
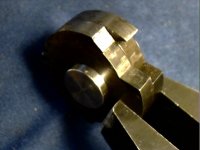
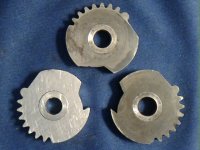
On my wish list is a wire EDM machine. I have NO experience
with one (yet) but it would be the perfect tool to make one of
these extraction gears. The hardest part will be developing the
program to guide the EDM wire to profile the part. I don't have
much CAD/CAM experience but it is a skill I would like to acquire.
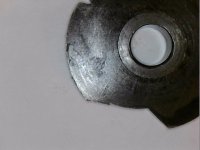
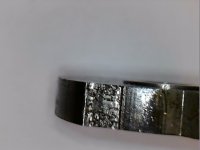
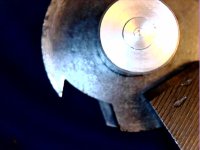
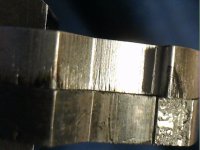
It should be possible to weld-up the old gear and machine back
to its original shape but I don't own a TIG machine either. Its also
on my "wish list." I do have welding experience with Oxy/Acety-
lene but this part is made of high carbon steel and welding this
up will cause the steel to de-carbonize in the weld zone. This is
where TIG has the advantages of both a smaller weld zone and
shielding gas to exclude air (Oxygen) from the weld zone and pre-
vent de-carbonizing the steel.
Any of these ideas is going to be much more expensive than the
$200.00 (plus shipping) for the replacement gear. On the other
hand, buying a piece of equipment will be useful for other projects
and possibly produce parts for sale.
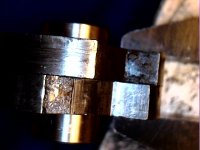
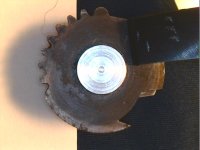
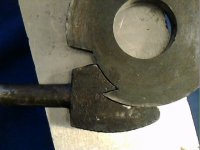
I am not an expert on these extractor gears but I have read that
S&W re-designed this part several times. The one advertised
on GunBroker is probably a copy of an earlier design (S&W was
constantly trying to improve the extraction system and make it
less prone to breakage). I think there was 5 or 6 different designs
used in the #3 American series.
Cheers,
Webb