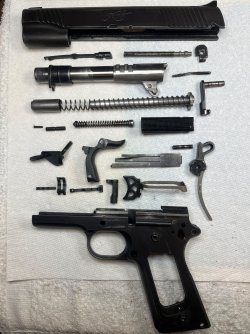
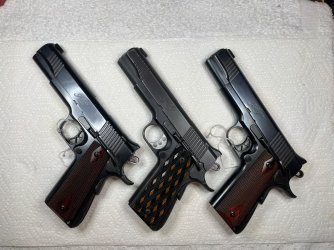
My plan for this project is to address safety and functional issues first, get both guns mechanically sound, and then to the cosmetic stuff last. If you're here for the refinishing portion, you have a couple of weeks to go do something else.

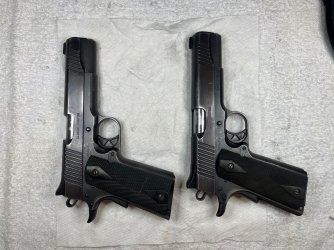
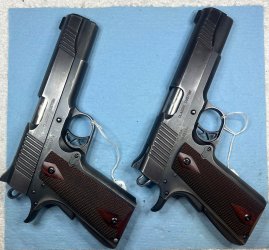
A neat thing about this pair is that the serial numbers are exactly 20 numbers apart. One ends in 46, the other in 66. That's how I'll be referring to them.
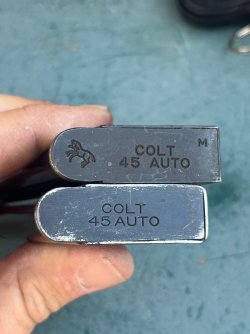
As always, our adventure began with a function and safety check. Both guns were verified to be unloaded, and then the thumb safety, grip safety, disconnector, slide stop, magazine release and trigger pull were all tested. Number 66 passed all the tests and had a long crunchy trigger pull of 5 lbs. Number 46 passed the safety checks, but none of the magazines I tested would drop free and it had a very mushy 3.5 lb trigger pull.
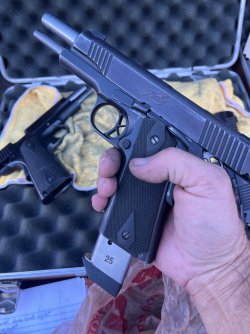
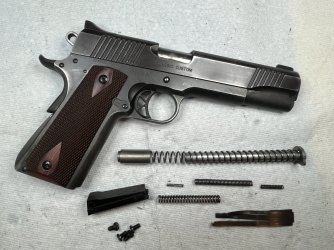
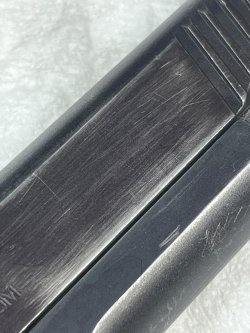
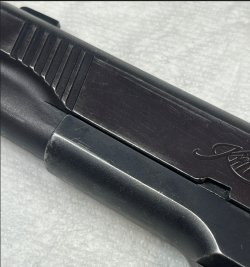
Externally, both guns are scratched and rather worn but there doesn't seem to be any major damage that needs to be repaired.
Both slides are turning slightly purple, the screw heads for the grip panels are pretty mangled, and 66 has a hint of ugliness showing around the bottom of the right grip panel.
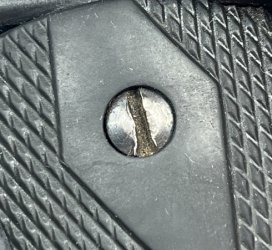
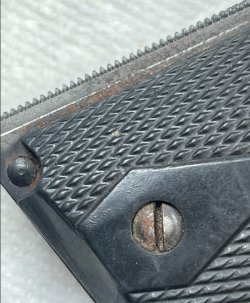
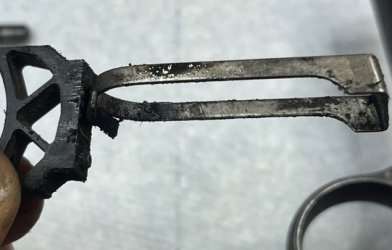
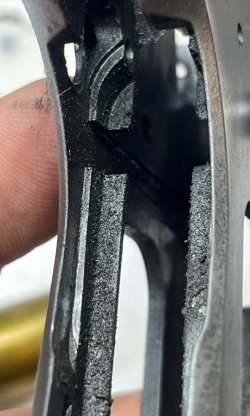
Both guns are just absolutely filthy at this point. I don't mean just dirty. Filthy. Like moldy crushed rice crispies mixed with toenail fungus and armpit hair filthy. These are probably some of the nastiest guns I've ever worked on. There was no lubrication as far as I could tell. Everything was riding on a layer of mung.
Ick.
The grip panel screws on 66 came out with a minimum of squeaking (!!!) but the grip panels themselves were stuck in place like they had been glued there. After prying them off by reaching in through the magazine well with a screwdriver, I learned where all the oil had gone: it was congealed behind the grip panels and they really were glued in place. They didn't pop off. They
peeled off.
Here's how 66 looked underneath:
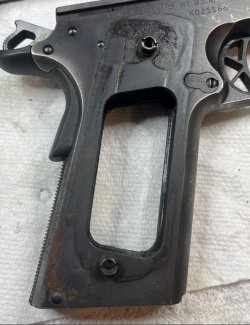
...and yes, that's a patch of rust.
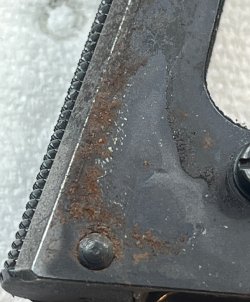
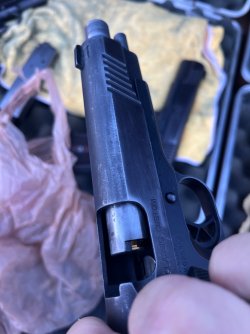
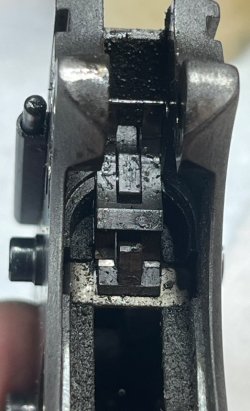
Taking the slide off only exposed more gunk and nasty things. I think there's a feed ramp under there somewhere...
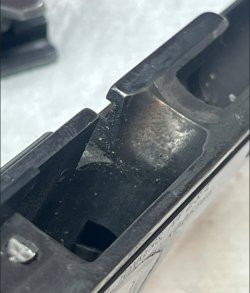
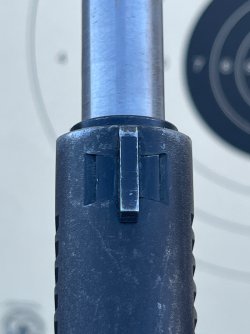
And the bore was fouled from chamber to muzzle:
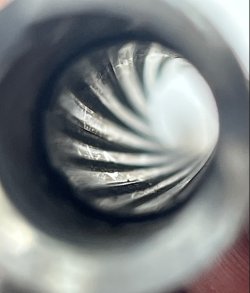
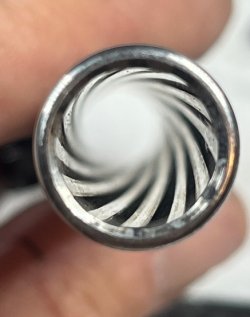
Number 66 seems to have a good heart though, because everything cleaned up reasonably well, including the bore and the rusty spot:
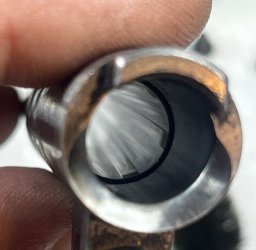
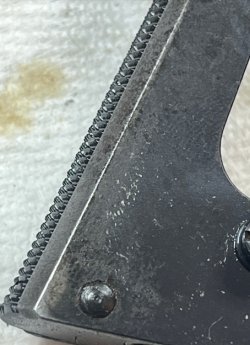
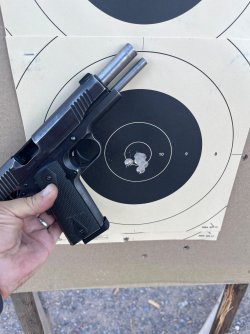
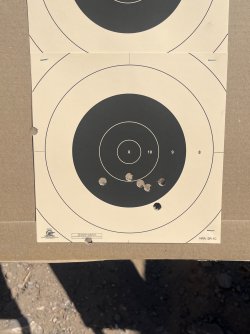
So far all I had done was a field strip cleaning. I could see down into the frame and what I saw was ugly enough that I decided to do that part later. We'll just do a top-end wipe down and go to the range so I can find out what needs to be fixed.
I'm glad that I looked at 66 first, because it prepared me for what 46 looked like inside. When I removed the mangled grip panel screws on number 44, three of the four grip screw bushings came out with the screws. I don't think the screws ever actually turned. This worked out well though, because the bushings helped peel the grip panels off the frame as they came out. The bushings need to come out anyway to refinish the frame so I don't consider this a tragedy at all.
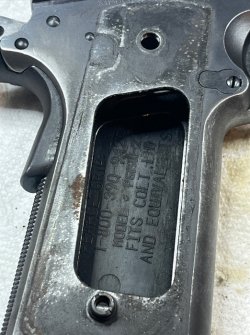
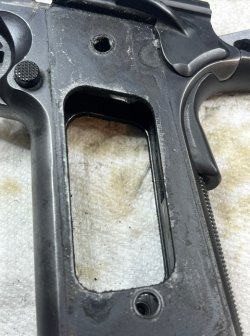
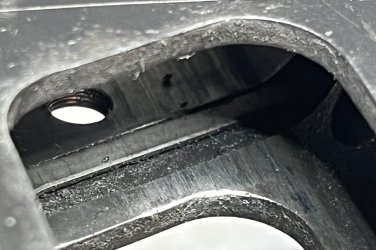
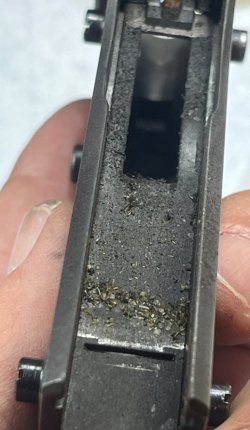
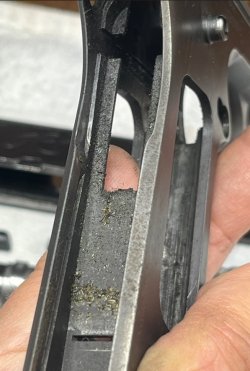
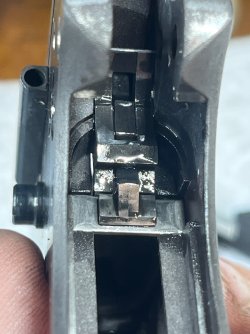
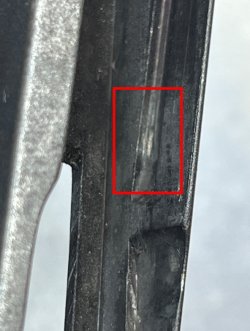
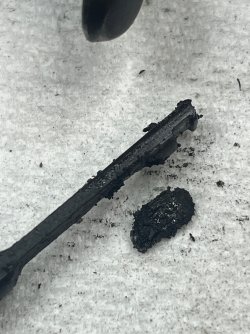
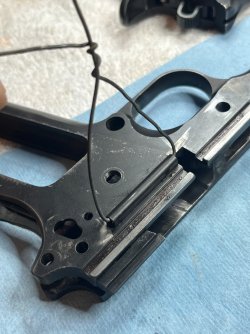
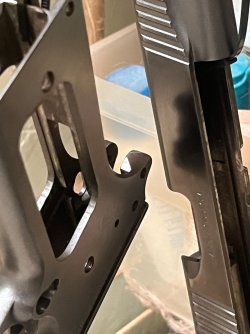
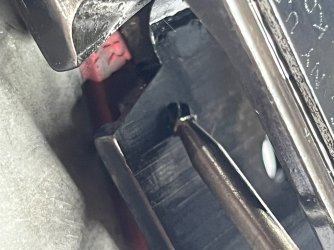
I really don't want to re-live the experience of cleaning this gun, so I'm only going to give you one picture: a view of the trigger bar channel in the frame. I have no idea why the trigger pull on this gun feels like dragging a dirty sock through yesterday's lasagna.
