HomeSmith Trainwreck: Bottom Feeders

Joined
Jul 25, 2017
Messages
1,150
Reaction score
6,784
Location
Arizona
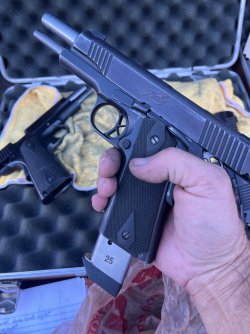
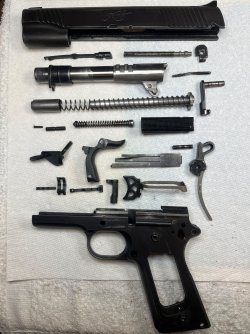
Here’s a picture I don’t see very often here…you get three guesses as to what the next project is, and the first two don’t count:

IMG_8112.jpeg

If you guessed a 1911 you’re partially correct.

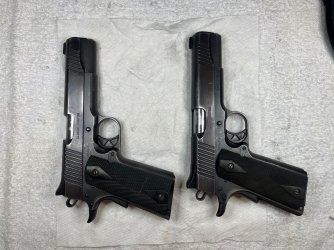
There are two….


IMG_7629.jpeg

These are a pair of well used/abused full size Kimber Classics. Both are “Series 1” guns, so they don’t have the firing pin block.

What we know about them is that they both have lots of finish wear and are dirtier than a….never mind. Forum rules and all that. Let’s just say they’re dirty.

Down the rabbit hole we go…..
 
Register to hide this ad
My plan for this project is to address safety and functional issues first, get both guns mechanically sound, and then to the cosmetic stuff last. If you're here for the refinishing portion, you have a couple of weeks to go do something else. ;)

A neat thing about this pair is that the serial numbers are exactly 20 numbers apart. One ends in 46, the other in 66. That's how I'll be referring to them.

As always, our adventure began with a function and safety check. Both guns were verified to be unloaded, and then the thumb safety, grip safety, disconnector, slide stop, magazine release and trigger pull were all tested. Number 66 passed all the tests and had a long crunchy trigger pull of 5 lbs. Number 46 passed the safety checks, but none of the magazines I tested would drop free and it had a very mushy 3.5 lb trigger pull.

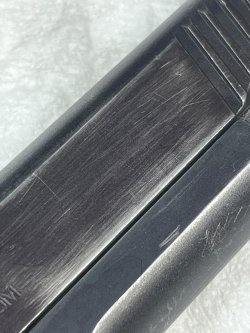
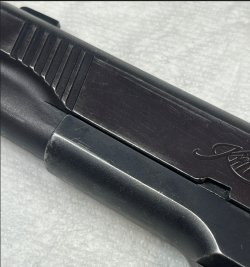
Externally, both guns are scratched and rather worn but there doesn't seem to be any major damage that needs to be repaired.
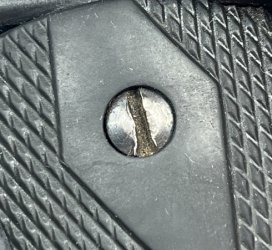
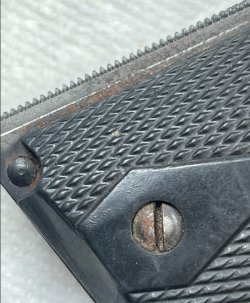
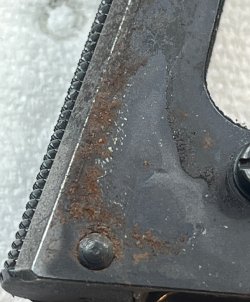
Both slides are turning slightly purple, the screw heads for the grip panels are pretty mangled, and 66 has a hint of ugliness showing around the bottom of the right grip panel.
IMG_7633a.jpg
IMG_7636a.jpg
IMG_7638a.jpg
IMG_7640a.jpg

Both guns are just absolutely filthy at this point. I don't mean just dirty. Filthy. Like moldy crushed rice crispies mixed with toenail fungus and armpit hair filthy. These are probably some of the nastiest guns I've ever worked on. There was no lubrication as far as I could tell. Everything was riding on a layer of mung.

Ick.

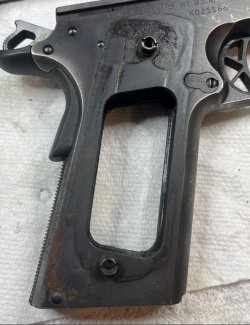
The grip panel screws on 66 came out with a minimum of squeaking (!!!) but the grip panels themselves were stuck in place like they had been glued there. After prying them off by reaching in through the magazine well with a screwdriver, I learned where all the oil had gone: it was congealed behind the grip panels and they really were glued in place. They didn't pop off. They peeled off.
Here's how 66 looked underneath:
IMG_7641a.jpg

...and yes, that's a patch of rust.

IMG_7642a.jpg

Taking the slide off only exposed more gunk and nasty things. I think there's a feed ramp under there somewhere...
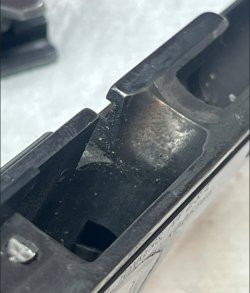
IMG_7643a.jpg

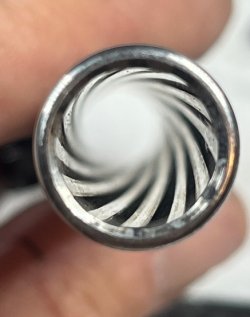
And the bore was fouled from chamber to muzzle:
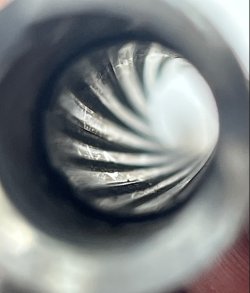
IMG_7645a.jpg IMG_7646a.jpg


Number 66 seems to have a good heart though, because everything cleaned up reasonably well, including the bore and the rusty spot:
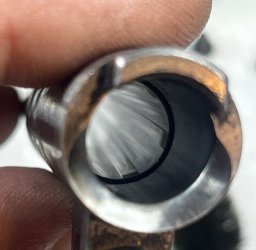
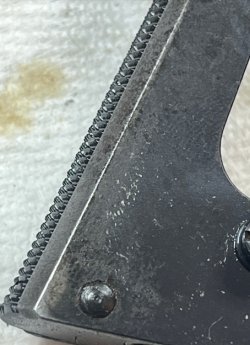
IMG_7653a.jpg
IMG_7648a.jpg

So far all I had done was a field strip cleaning. I could see down into the frame and what I saw was ugly enough that I decided to do that part later. We'll just do a top-end wipe down and go to the range so I can find out what needs to be fixed.

I'm glad that I looked at 66 first, because it prepared me for what 46 looked like inside. When I removed the mangled grip panel screws on number 44, three of the four grip screw bushings came out with the screws. I don't think the screws ever actually turned. This worked out well though, because the bushings helped peel the grip panels off the frame as they came out. The bushings need to come out anyway to refinish the frame so I don't consider this a tragedy at all.
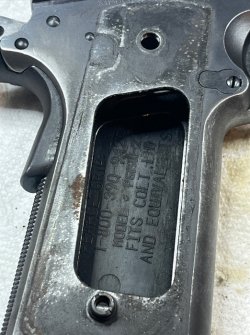
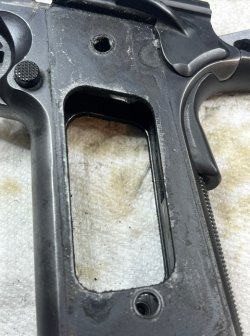
IMG_7668a.jpg IMG_7671a.jpg


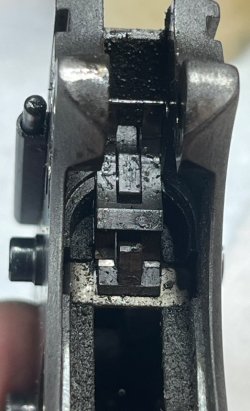
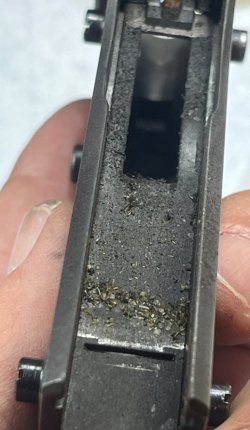
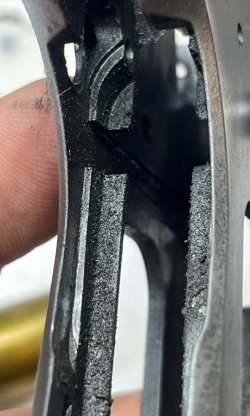
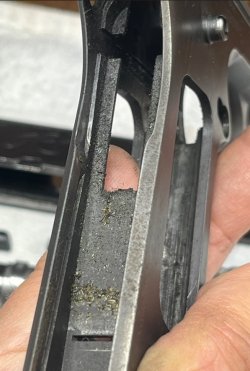
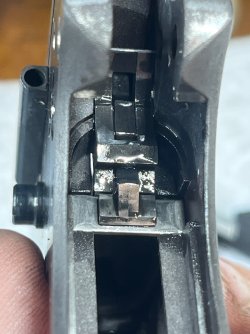
I really don't want to re-live the experience of cleaning this gun, so I'm only going to give you one picture: a view of the trigger bar channel in the frame. I have no idea why the trigger pull on this gun feels like dragging a dirty sock through yesterday's lasagna.
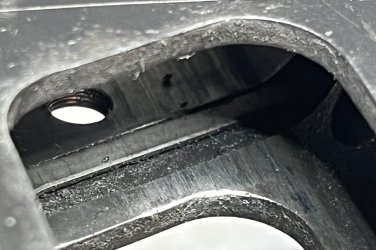
IMG_7677a.jpg
 
Once both guns were clean enough that I would put them into my gun cases, I packed up a variety of magazines and headed to the range.
I told you 66 had a good heart….

IMG_7696.jpeg

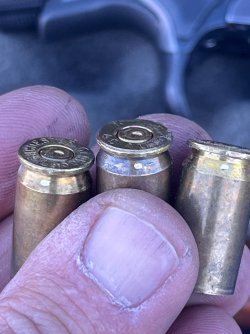
In fact, the only issue I could find with 66 is that the extractor was just slightly too long and was leaving marks on the brass.

IMG_7698.jpeg

Four different brands of magazines fed flawlessly, empties were tossed about 8 feet at 4 o’clock, magazines all dropped free, and the slide lock functioned properly.

66 is a good gun. All it really needs is some love and attention.

46 turned out to be a snotty little brat though. I don’t know if the slide lock works because I couldn’t get through a full magazine without having a round jump ahead of the extractor.


IMG_7707.jpeg

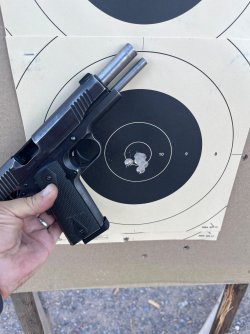
The magazine release worked, but every magazine stuck in the gun.


IMG_7705.jpeg

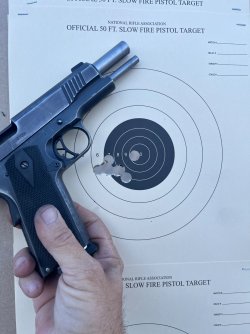
And to top it off, when it did go bang it shot consistently to the left. The one shot on the X-ring was from me holding off to the right.


IMG_7701.jpeg

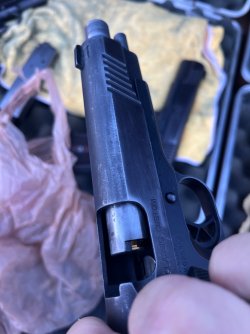
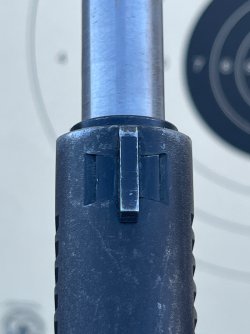
It was about then that I noticed that 46’s front sight was shifted to the right. Compare the amount of metal visible on each side inside the dovetail.


IMG_7704.jpeg

At least now I knew where I was starting from. BTW will have to wait for his dual-wielding picture until I can make 46 run long enough to do it.

Next up will be a trip deep inside both guns…..
 
I decided to work on 66 first because we like each other. I'm still trying to work out living arrangements with 46.

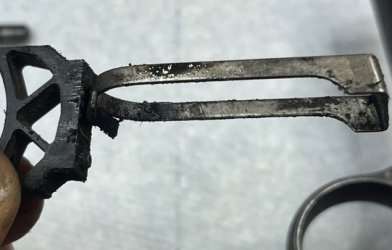
The following is a pictorial essay on just how nasty a 1911 can be inside and still function. A neat data point: there was so much gunk in the frame that with everything else removed and the trigger in the frame by itself, it still took 6 ounces of pull on my trigger scale to move the trigger through the accumulated glop.

I'm also going to be that somewhere along the way a shell that was loaded too long got stuck, and as part of clearing the gun the shell was pulled apart and dumped powder into the guts of the gun, because that sure looks like unburned powder collected in the area behind the mainspring housing.

IMG_8109a.jpgIMG_8110a.jpgIMG_8111a.jpg
IMG_8116a.jpgIMG_8118a.jpg

The next step after taking it apart was to hose out the frame. Literally. I took it outside and used half a can of aerosol brake cleaner to blast most of the nastiness out.

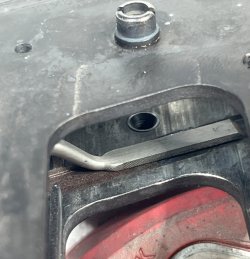
I did this work the same way I approach Smiths: complete tear down, cleaning, inspection, and action job during the reassembly. The trigger is the last piece to come out and the first piece to go in, so that's where we started. The trigger channel was swabbed out with a qtip and a hand window file was used as a feeler to check for any rough spots. There weren't any, probably because the trigger had been "lubricated" with the equivalent of lapping compound for who knows how long.

IMG_8125a.jpg

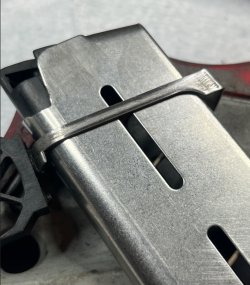
Then, a magazine was used for a dual purpose: as a gauge to ensure that the trigger bow had enough width to allow the magazine to slide freely, and also to support the sides of the trigger bow while I polished them with 800 grit sandpaper.

IMG_8127a.jpg

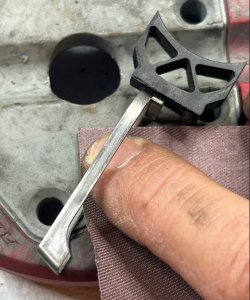
The insides of the trigger bow were also polished with the 800 grit paper, being careful to always support the trigger to make sure nothing got bent.

IMG_8128a.jpg

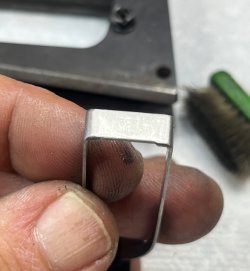
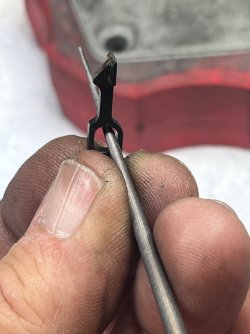
The last step for the trigger was to stone the sloped face at the rear where the disconnector rides.

IMG_8129a.jpg

With everything clean and polished, the trigger would now slide completely out of the frame under it's own weight by simply tilting the frame.

Mucho better-o. One piece done. :oops:
 
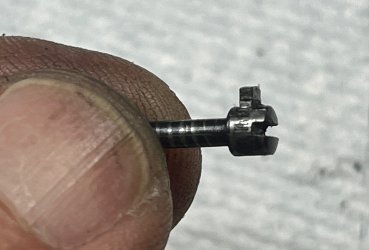
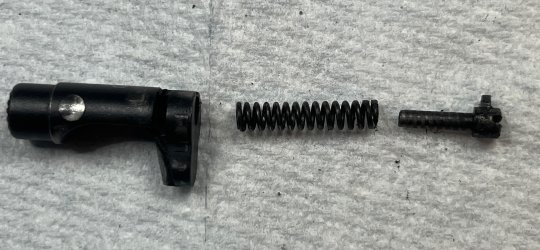
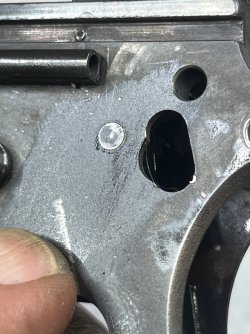
After the trigger was done, the next piece to go in is the magazine release. The thing on the release that looks like a screw is not. Even worse than the nut-that-looks-like-a-screw that holds on a S&W thumb piece, this is a quarter-turn-fastener-with-a-stud-that-fits-in-a-slot-that-looks-like-a-screw. IMG_8132.jpegIMG_8130.jpeg

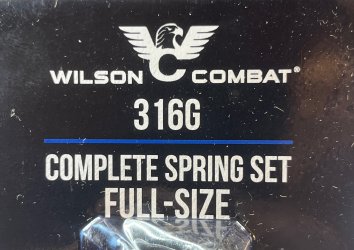
This is also the first of many springs that were replaced during this rebuild. Wilson Combat provided the kit.

IMG_8131.jpeg

This is an easy one to test. Either the magazine drops, or it doesn’t. It did.

The next piece is the disconnector, which was the cause of my one and only trip to a gunsmith with a paper bag full of parts. I was 16 and had taken apart my Dad’s 1911 without keeping track of how the pieces fit, and I couldn’t figure out how the trigger, disconnector, sear, and hammer went back together.

Experience is what you get right after you need it.

It’s been over 40 years, but I still remember “the flat goes on the flat, and the moon stands on its feet.”

Anyway, the disconnector has lots of places that can rub. The flat that bears against the back of the trigger, the angle where the middle leaf of the three-pronged spring sits, the round part that fits through the frame, the sides that potentially can rub on the sear. All of these areas get polished with a stone, and the center hole (where the pin goes) gets deburred with a needle file. That last one may not technically be necessary but I do it anyway, just like deburring the pin slot in a Smith hammer block.


IMG_8136.jpeg

The sear rides on the same pin as the disconnector, so it has to be prepped at the same time. I stone the sides of the inner slot where it fits around the disconnector, and then use a jig to clean up the sear surface. I have the Power Custom jig, the Harrison Design jig, and the Ed Brown jig. Of the three, the Ed Brown jig produces the “feel” that I prefer. All of them are good, just slightly different. I’m not going to go in to how it’s used…if you want to know, go to the Ed Brown website and follow THEIR directions.


IMG_8138.jpeg

The pieces all fit like this when you’re done.

IMG_8140.jpeg


The pin that holds these pieces together will fit in from either direction, but will only stay in if the head is behind the thumb safety.

Learned that one the hard way too….


IMG_8139.jpeg
 
Back
Top