You might check:
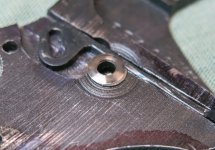
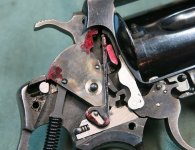
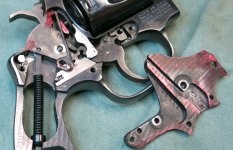
to see that the yoke is free of any end shake when it's in the gun and the yoke screw is installed.
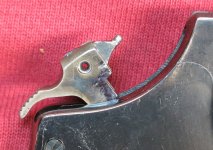
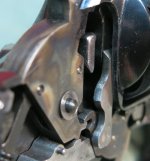
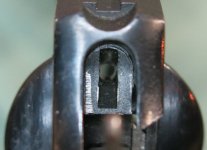
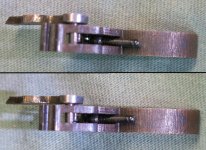
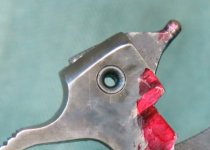
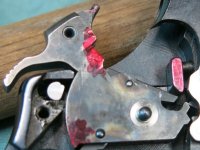
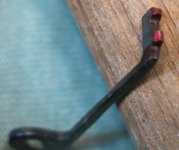
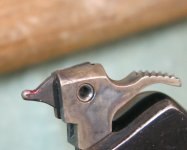
Take a look at the hammer nose bushing and the condition of the frame cavity where the hammer enters the frame when going into battery. (use a magnifier) Also ck the hammer nose and rivet condition and movement.
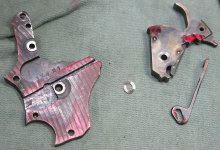
Make sure the hammer is moving freely, and entering the frame cutout centered up with the hole in the hammer nose bushing. Could the added shim on the hammer stud be causing issues?
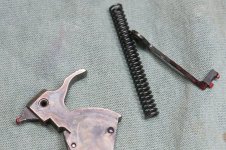
I would also shoot it without the hammer block, to make sure that particular part is eliminated from consideration in terms of the cause of the intermittent light strikes. I believe you already confirmed the protrusion of the hammer nose is adequate, and the rear gauge appears to be in spec.
Just some additional things to look at.
Carter
to see that the yoke is free of any end shake when it's in the gun and the yoke screw is installed.
Take a look at the hammer nose bushing and the condition of the frame cavity where the hammer enters the frame when going into battery. (use a magnifier) Also ck the hammer nose and rivet condition and movement.
Make sure the hammer is moving freely, and entering the frame cutout centered up with the hole in the hammer nose bushing. Could the added shim on the hammer stud be causing issues?
I would also shoot it without the hammer block, to make sure that particular part is eliminated from consideration in terms of the cause of the intermittent light strikes. I believe you already confirmed the protrusion of the hammer nose is adequate, and the rear gauge appears to be in spec.
Just some additional things to look at.
Carter
Last edited:
")