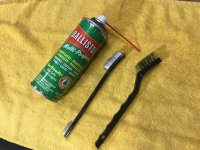
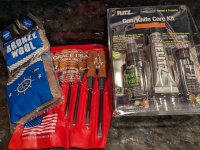
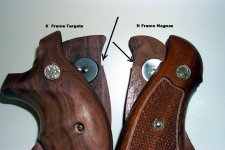
The U.S. penny went from being copper to copper plated zinc in October of 1982, so there are some zinc 1982 pennies. For the rust, I agree, bronze wool to remove the rust, then polish with Flitz and finish with oil or wax. You can still use the rubber grips, but now that you are aware of the moisture retention issues that occur under rubber grips, be fastidious with your corrosion prevention. Otherwise, find some wooden stocks that feel good in your hands.

")
 ...Ben