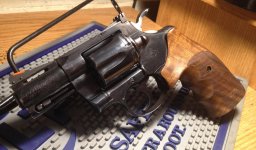
Just finished this up along with a few other mods and thought the forum might be interested.
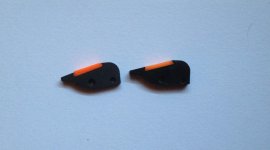
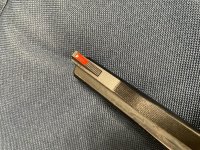
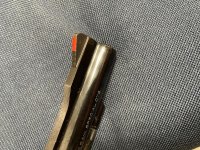
I made the notch with small triangular and flat files. Not hard, just be careful. It's hard to see in the pictures but the triangle file will undercut the ends enough to lock the insert down. Once done I used a drill press to put a couple divots in the base of the cut to lock it in sideways.
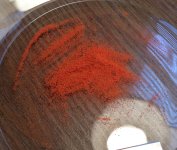
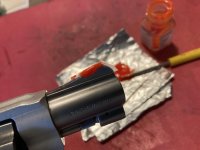
My first try with Testor's orange paint and 2-part epoxy was laughable - an icky smeary looking mess that somehow dried greasy (thankfully not on the gun, just a piece of scrap).
The trick is to pour out most of the paint and leave maybe 1/8" in the bottom of the bottle. Let that sit around open a couple weeks until it gets almost like wet putty. NOW you have something that will mix up nice with the 2-part.
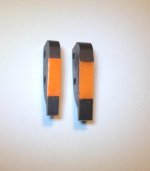
I degreased the sight and stuck a piece of Scotch tape on each side, added the orange mixture using the end of a toothpick. Once dry, peel the tape off and carefully file the top flat.
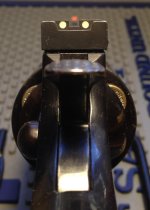
Side-by-side with a painted front sight, the look is basically the same. So for practical purposes you could just paint and have the same thing... but this was interesting and will last longer.
I made the notch with small triangular and flat files. Not hard, just be careful. It's hard to see in the pictures but the triangle file will undercut the ends enough to lock the insert down. Once done I used a drill press to put a couple divots in the base of the cut to lock it in sideways.
My first try with Testor's orange paint and 2-part epoxy was laughable - an icky smeary looking mess that somehow dried greasy (thankfully not on the gun, just a piece of scrap).
The trick is to pour out most of the paint and leave maybe 1/8" in the bottom of the bottle. Let that sit around open a couple weeks until it gets almost like wet putty. NOW you have something that will mix up nice with the 2-part.
I degreased the sight and stuck a piece of Scotch tape on each side, added the orange mixture using the end of a toothpick. Once dry, peel the tape off and carefully file the top flat.
Side-by-side with a painted front sight, the look is basically the same. So for practical purposes you could just paint and have the same thing... but this was interesting and will last longer.
Attachments

Last edited: