Keep the water at a rolling boil as you retrieve the parts from that cycle.
That way the water and the water surface are moving about and any small particles of 'stuff' floating around on the surface or in the water can't collect and form a blob which can attach to the newly boiled parts coming out.
It also helps to break up any oil film that may be on the surface keeping that from being dragged out on the part(s),,which can then contaminate your carding wheel & brushes as well.
Dump any water that shows any sign of contamination,,and clean the container and re-fill with clean water.
When allowing the parts to rust, you don't need much of a visible coating of rust at all to be able to produce a color layer when boiling.
It won't hurt to let them rust more and get the deep brown coating. But 2 things happen.
One is that the surface of the steel is being given a matted tecture by the length and aggresiveness of the soln on it. The humidity and temp are at work here as well.
Two.. that extra nice brown layer of rust does little in the way of adding to color itself, but it does add alot to the crud that accumulates and floats around in the boiling tank with the parts.
Short(er) rusting times allows you to retain a high polish.
That along with diluting the rusting solution itself after the first or second cycle.
Cut it 1:3 water to solution for a cycle or two,,then if continueing, do 1/2&1/2 water and soln.
etc.
You can even go further with it. That's the secret if there is one to retaining the high polish during a Rust Blue.
The normaly stated 'Rust Bluing leaves you with a matted finish' is only partially correct.
It CAN leave you with one,,it doesn't have to be that way if you control the process,,,and you do.
If you see any blemishes on the freshly carded blued surfaces, like a water spot, mineral streak, dark blemish, etc that doesn't easily card away, don't keep going after it with the carding wheel.
Stop and take either a Scotchbrite pad of a grit the same or lesser than the finished grit you used to finish polish the surface,,or even a piece of grit paper again the same or better yet just abit finer in grit.
(I often use a piece of 'worn' grit paper for this)
Polish the offending spot away and blend any grit lines into te surrounding blue. No need to do the entire part,,just that bad area.
Use the pad or paper dry of course,,no oil or water.
When done polishing, throw that piece of pad or grit paper away. It likely has some small amt of contaminant on it and you don't want to grab it later to fix another spot and continue to spread it around.
Then go right back to coating the part with another layer of rust bluing soln. The area will look off color as the soln drys, but will rust up alond with the rest of the part.
Then boil as usual.
The blemish will in most instances be gone and the blue now completely matching the surrounding blue where the bad area was.
Sometimes it needs a second cycle to catch up and blend in,, but it will.
Sometimes you can have better (or worse) luck using an Express Rust Blue instead of a Slow Rust Blue.
Lots depends on the steel alloy.
Having & keeping everything absolutely clean is a key to getting a great outcome no matter which process you use.
I still use stove top methods for small parts and most handguns. My boiling tanks in my shop will take 40 something inch long bbls.
But a BreadPan on the stove has produced a lot of rust bluing for me over the yrs.
Carding wheel is in the shop of course,,not on the kitchen counter top!
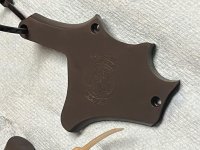
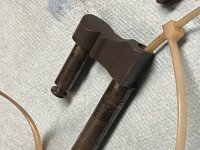
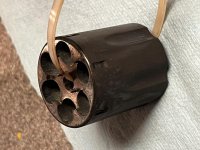
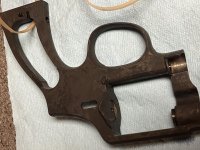
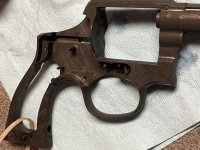
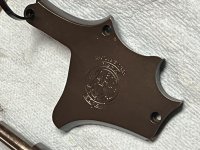
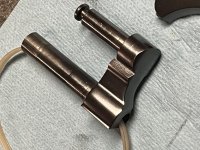
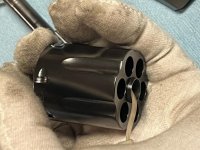
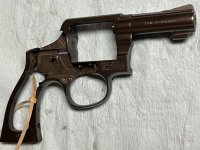
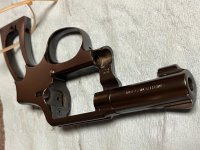
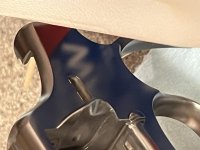
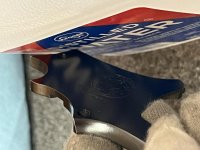
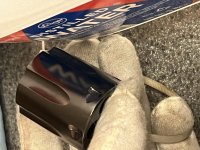
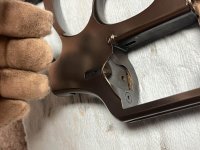
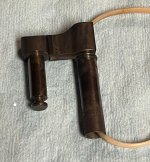
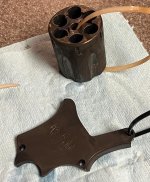
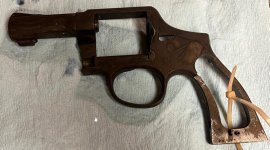
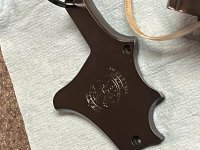
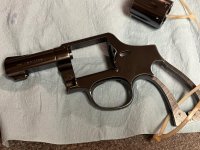
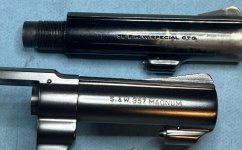
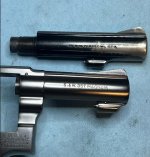
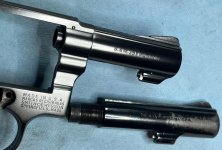
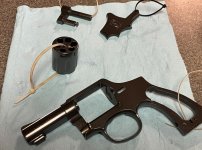
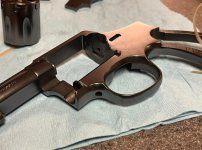
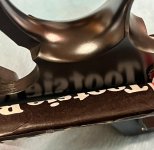
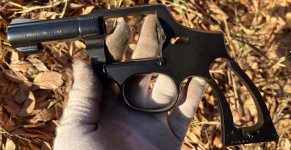
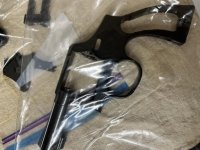
These are all Rust Blue projects.
Some are Express Rust (Hot Rust), others are Slow Rust (Cold Rust)
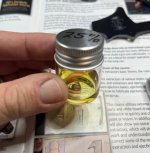
A couple of the very xpensive and complicated equipment used as well.


 I'll get my own set soon.