HomeSmith TrainWreck: Short and Shiny

Joined
Jul 25, 2017
Messages
1,133
Reaction score
6,644
Location
Arizona
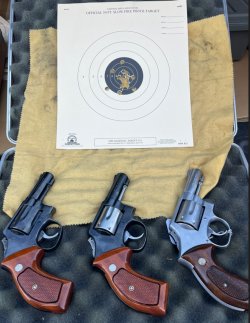
In this thread we're going to be working on an abused 64-5 and learning about refinishing stainless steel. Things are going a little slow around here since the heart attack so an easy set of projects seemed to be in order. I did manage to survive "the treadmill from hell" yesterday, so things are looking up.

Maybe I should have called this "Short and Shinies" because there are actually two, but we're really only going to concentrating on just one. I got this pair cheap because they've been overseas and when they came home, the graffiti artists at CAI did this to them:
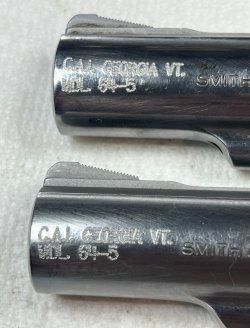
IMG_7566a.jpg

I've done several threads involving barrel swaps and caliber changes, so I won't repeat all that and we'll just say that both barrels fell off and were replaced with better examples. The original barrels still have value and were added to the pile to be used as practice material for when I learn how to shorten barrels or do slab-sides...or both.

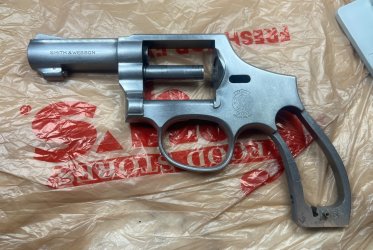
Here's the obligatory "gun about to become something else" picture:
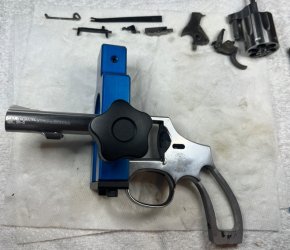
IMG_7544a.jpg

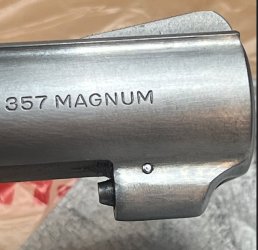
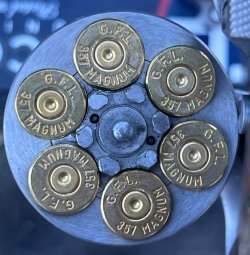
Quite a few of my projects don't really have a plan. I just start and let the gun take me to wherever we end up. With these two, one of them wanted to stay as a 4" .38 Special and the other wanted to become a 3" .357 Magnum. A 64.5 instead of a 64-5 is probably a good way to put it.

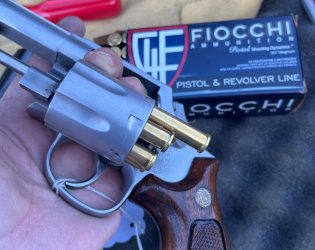
Barrels were swapped, a cylinder was fitted, action jobs were done, and we were off to the range for a function check before going any farther.

The barrels seem to be on reasonably straight....
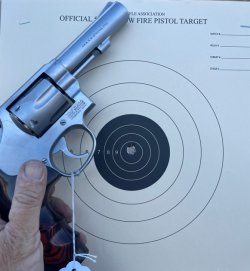
IMG_7688a.jpg IMG_7691a.jpg

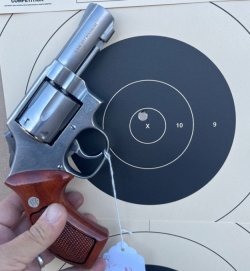
I did a few drills with the 64.5 and decided that it had enough potential that it deserved some extra attention.

IMG_7725a.jpg
IMG_7721a.jpg

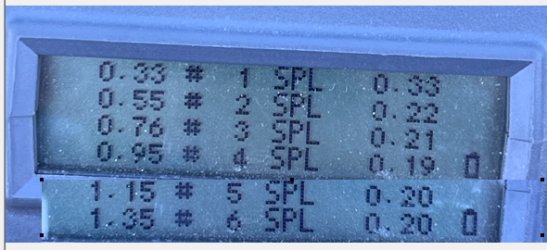
The timer picture looks a bit weird because it's two pictures spliced together...it only shows 4 shots at a time. Six shots in under 1.5 seconds from a low ready at 5 yards. This one may have to stay.

What extra attention does it need? All cosmetic. It functions wonderfully, but it's been dropped. Or used as a hammer. Or both. That's coming up next.....
 
Last edited:
Register to hide this ad
So what do we need to fix?

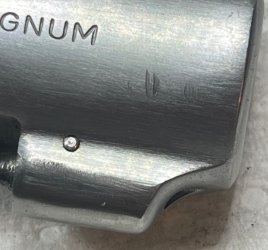
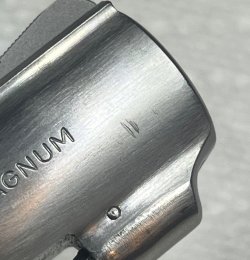
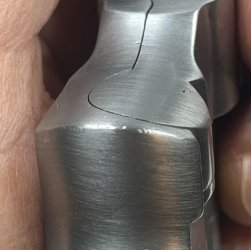
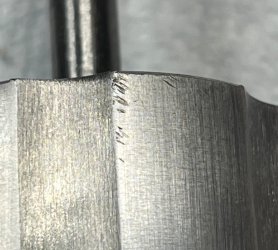
First, a nice big set of divots left in the barrel by the destruction company that provided the model 65 parts kit:

IMG_7885a.jpg
IMG_7872a.jpg

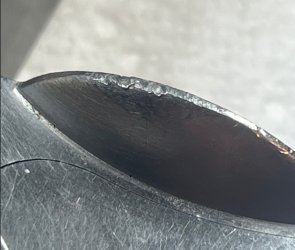
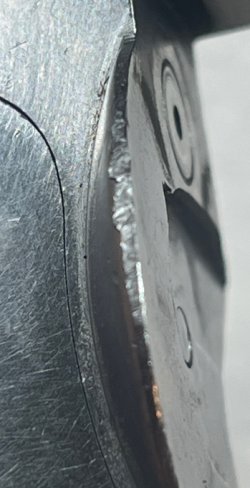
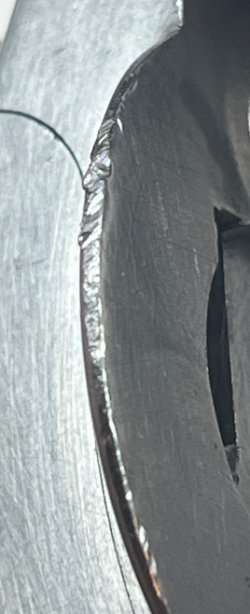
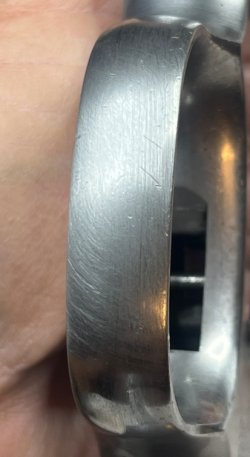
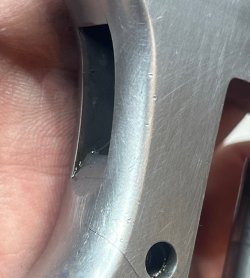
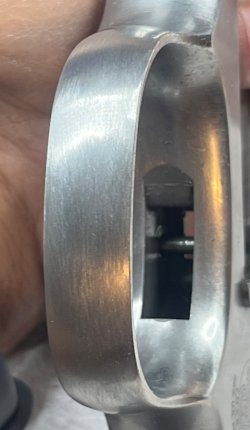
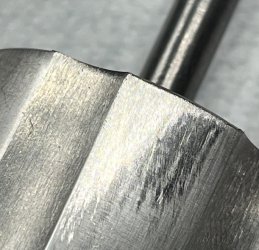
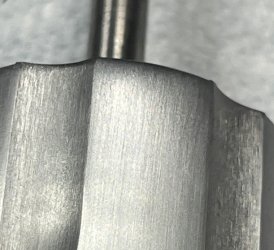
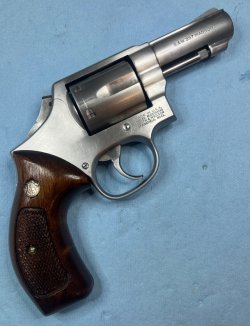
Second, there was some road rash on the edge of the recoil shield:
IMG_7865a.jpg
IMG_7867a.jpg IMG_7868a.jpg

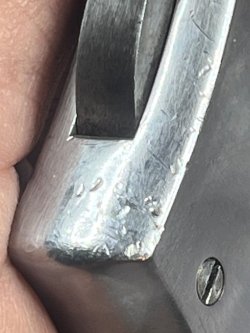
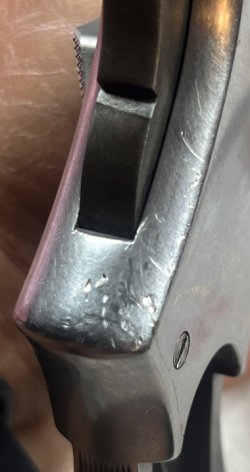
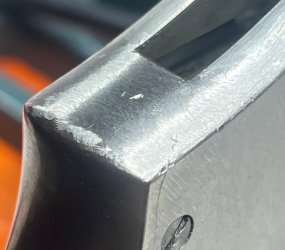
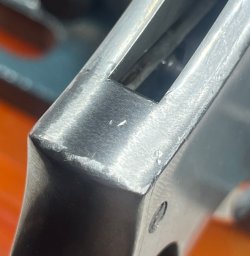
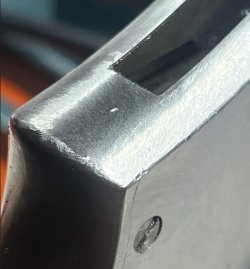
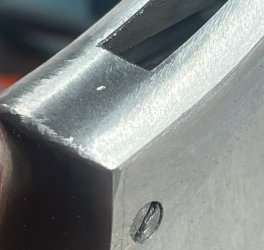
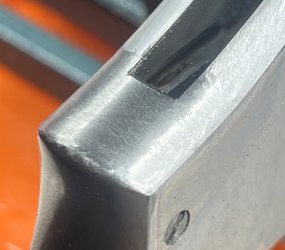
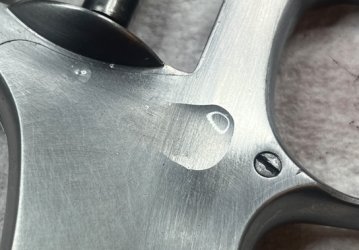
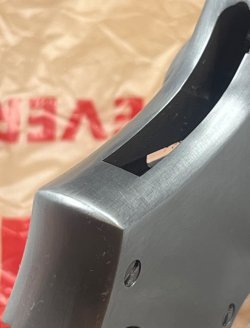
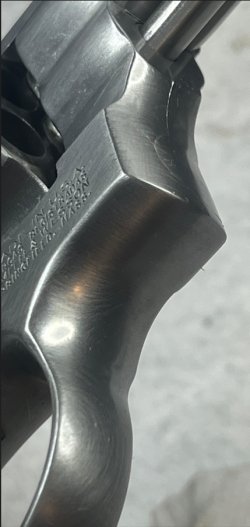
And finally there was this lovely pattern right above the grip frame and behind the hammer.

If someone can tell me the proper term for this area I'd appreciate it....

IMG_7869a.jpg

IMG_7870a.jpg

IMG_7871a.jpg

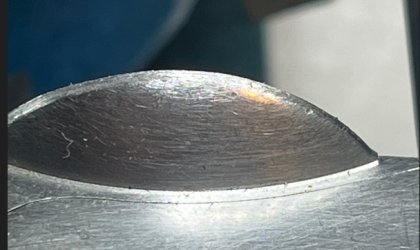
The barrel divots turned out to be very easy and were a textbook exercise in drawfiling that took less than 5 minutes to remove. In this picture the file marks have not been cleaned up yet.

IMG_7886a.jpg

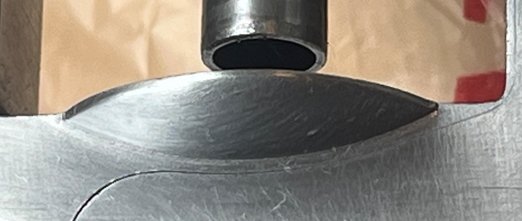
To my surprise, the recoil shield wasn't that hard to clean up either. It just took patience and following the lines of the intact portions....

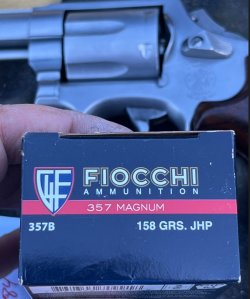
Here's part way through, still with some shaping and a couple of marks to remove:
IMG_7883a.jpg

And here's how it ended up:

IMG_7915a.jpg

With a couple of quick successes under my belt, it was time for a nap before tackling the part that was used as a hammer.

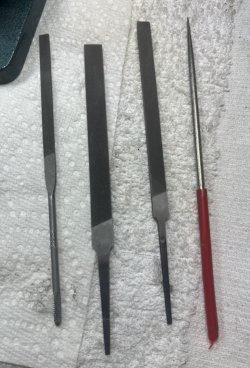
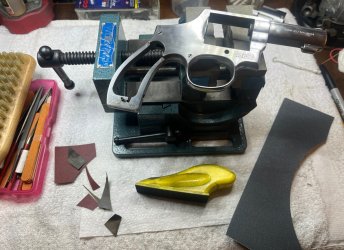
So far, these are the only tools that were used (along with a file card that isn't in the picture):

IMG_7887a.jpg
 
We left off with the next step being to address the area behind the hammer that had been used as a hammer....or more likely dropped in a bunch of rocks.

With the gun held in a benchtop vise, a #2 file was used to start reducing the area around the dimples. Being ambidextrous really helped here because I was able to follow the curve of the frame from right to left and then switch hands and repeat the motion from left to right without moving the work. The small dimples went away quickly, leaving only the big dents to be worked on slowly.

IMG_7878a.jpg

My mindset during this work was not to remove the dents. I made my goal to reduce the height of the frame and keep the edges straight....the dents would come out all on their own.

IMG_7879a.jpg

Getting there. Still doing the rocking motion and reversing the direction between strokes to keep it even and not drop one side more than the other.

IMG_7880a.jpg

Every once in a while I would lay the file flat on the side of the frame and make a swipe or two along the side just to keep the edge line intact. The dimples along the corner went away without me really noticing or I would have grabbed an "almost there" picture.

IMG_7881a.jpg

...and finally the big dent in the middle went away. I've found that it's necessary to take 3 or 4 additional strokes after the dent seems to be gone because a little speck of a dimple always seems to show up during finishing after hiding inside a file cut and not really showing until the surrounding surface is smoothed out.

IMG_7882a.jpg

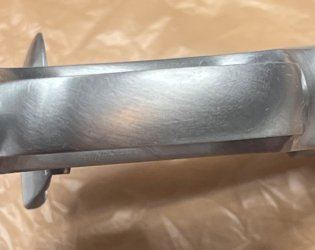
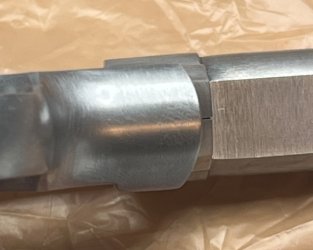
The last bit of work here was very finicky: restoring the edge at the top of the backstrap and blending the area that had been worked with the up-sweep of the frame on each side of the hammer. For this I switched from the #2 Nicholson file to a #6 Swiss pattern file from Grobet. The set of Grobet files cost $130, but they are worth every penny.

This picture is from when I started working on the back edge. Unfortunately I didn't get a picture of the area before moving on to finishing, so you'll just have to wait to see how it turned out. :devilish:

IMG_7889a.jpg
 
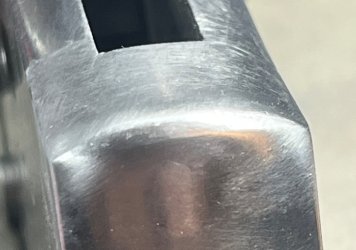
Some scraps of 220 and 320 grit sandpaper were used to blend the file marks into a cross-hatch pattern. Here's a shot of the work area at the end of the sanding....

IMG_7892a.jpg

I've used sandpaper before in several other projects to do the final metal finishing, but this time I wanted something different: a brushed satin finish. I tried searching various firearms forums for how to produce a satin finish but all the answers I found involved either bead blasting or "call a professional". :(

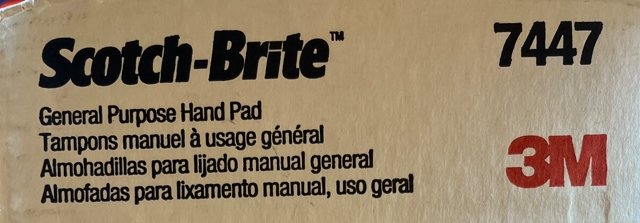
Since my google-fu appeared to be weak, I tried a different approach and started surfing appliance repair forums looking for advice on removing scratches from stainless steel kitchen appliances. This line of research was much more productive and produced a common answer: Maroon Scotch-Brite, part number 7447. A little clicky-clicky on the jungle website and a surprisingly large box of abrasive pads ended up on my front porch.

IMG_7586a.jpg

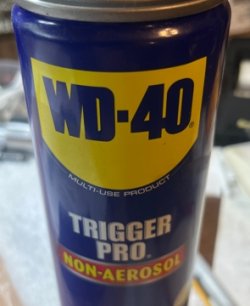
Wet sanding with the Scotch-Brite pads was the recommended way to approach fixing refrigerator doors, so I got out the good old Wonder Drug #40, put a small bit on the frame, and smeared it around with my fingers.

IMG_7895a.jpg

IMG_7910a.jpg

.......and then I went to work with the Scotch-Brite. I purposefully made no attempt to always go in the same direction and I was definitely not gentle. The approach was more like scrubbing a cookie sheet that had baked on food stuck to it.....and I loved how it was looking.

Until I found the spots that needed file work that I missed the first time around.
 
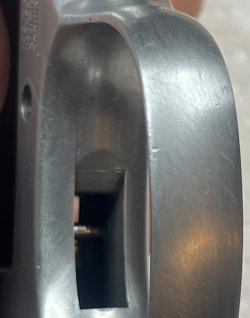
There were far too many dents, dings, divots, and dimples around the trigger guard and the area of the frame below the yoke for me to put up with, and they were too deep for the Scotch-Brite to correct by itself.....or at least not in the time I have left on this mortal coil.

IMG_7899a.jpg
IMG_7900a.jpg
IMG_7901a.jpg
IMG_7904a.jpg

Several projects ago I learned the hard way to never ever leave abrasives or cutting tools in the work area while I was trying to do something else, so all the Scotch-Brite and sandpaper was completely put away and the work area was set up for file work again.

File, file, file, sandpaper, file, sandpaper and we were ready to start with the Scotch-Brite again.

IMG_7907a.jpg
 
Since I was going to be sanding wet, I spread a plastic shopping bag out flat on the workbench so that gritty liquid wouldn't be absorbed into the towel and spread to other projects.

As I said before, the method I used with the Scotch-Brite was not gentle. I scrubbed that sucker like I was a dishwasher with a health department inspector standing in the doorway. Some of the scrubbing was done with just the pad, other parts were done using a pad holder.

I'm running out of ways to describe scrubbing, so here are a bunch of pictures taken during the process:

IMG_7920a.jpg

IMG_7912a.jpg

IMG_7916a.jpg

IMG_7917a.jpg

IMG_7918a.jpg

IMG_7923a.jpg

IMG_7925a.jpg

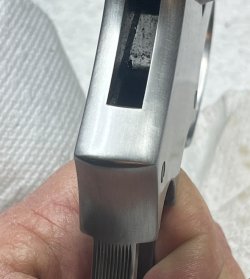
When I thought I had scrubbed enough, I wiped off all the residue, cleaned the entire exterior with Hoppe's, and went outside to get a couple of pictures in natural light.

IMG_7926a.jpg

IMG_7927a.jpg

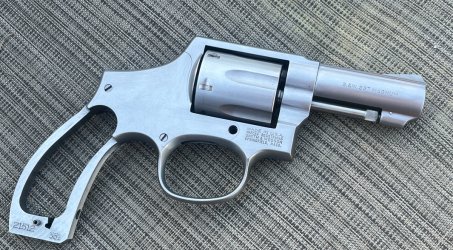
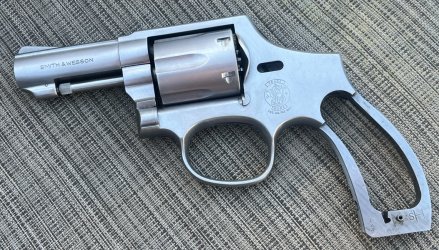
I liked the way it looked, so all the various pieces were moved from the outside to the inside, and a set of stocks was put on for the trademark HomeSmith blue shop towel picture:

IMG_7938a.jpg

With this gun I only used the maroon pads #7447. When I work on the next one, I'll do a pass with 7447 and then repeat the process with the next step finer, the grey #7445 pads. I'm not sure when that will be, but I'll post about it when the time comes.

Working with stainless steel is fun and compared to rust bluing it almost feels like cheating because I can see the results right now instead of 8 rust cycles later. We'll be doing more of this.
 
WOW. Never fails to amaze me the things you can do. Absolutely Beautiful work!
Love the pictures and write up. Thank you for sharing!
I always look forward to your posts.
 
Back
Top