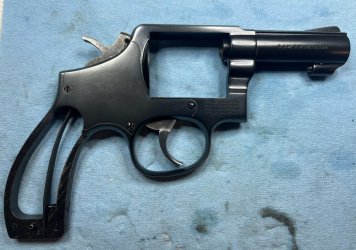
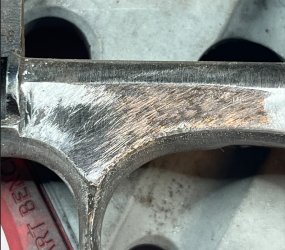
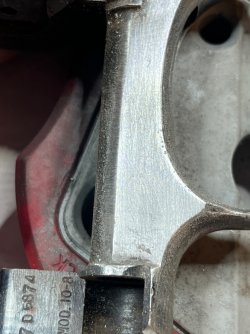
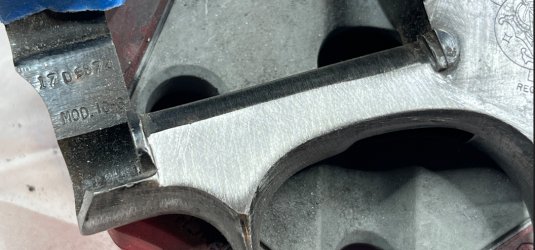
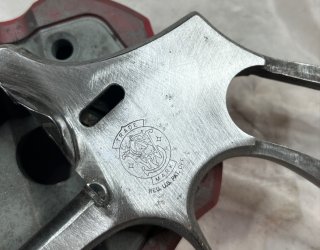
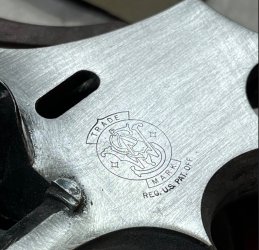
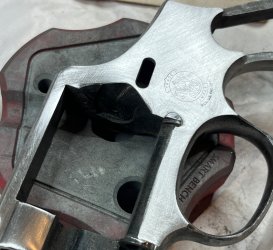
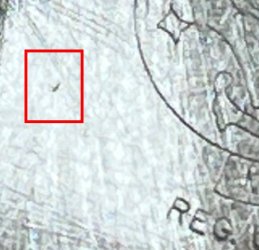
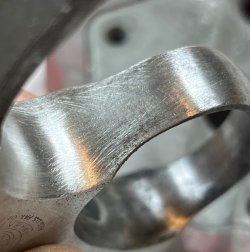
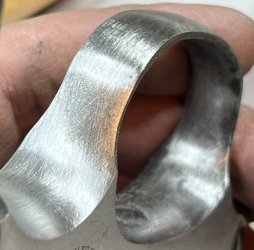
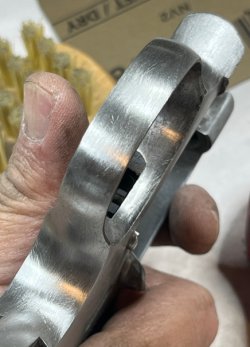
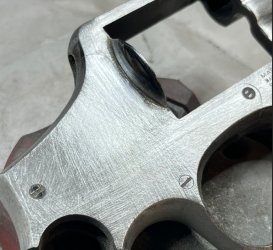
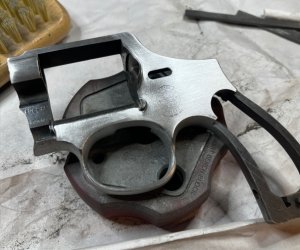
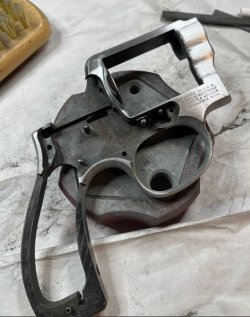
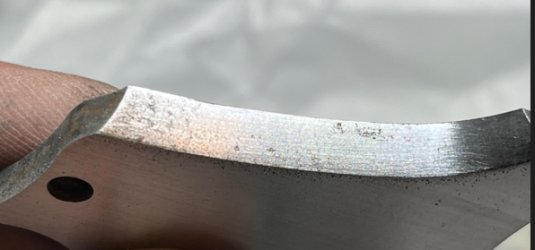
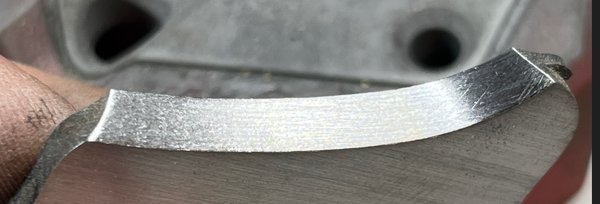
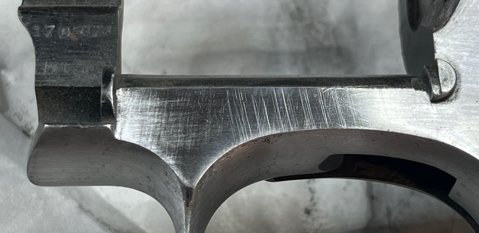
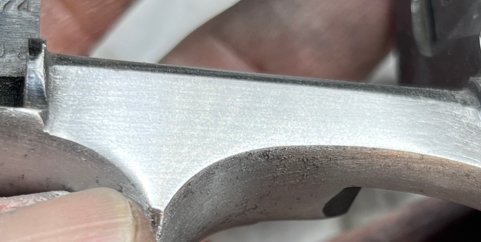
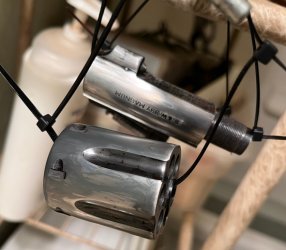
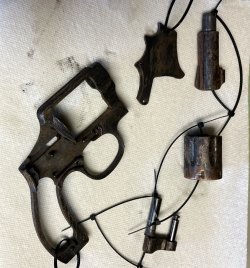
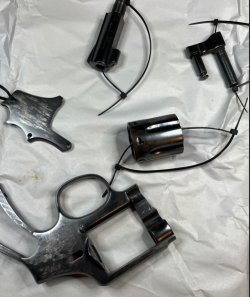
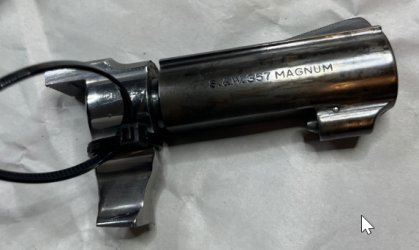
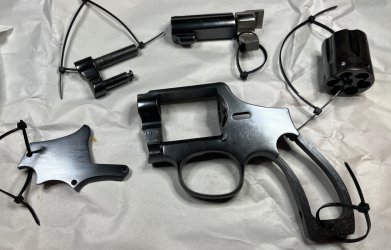
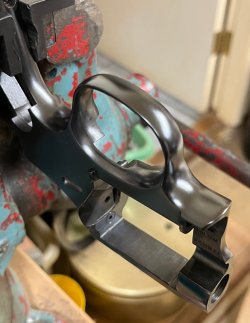
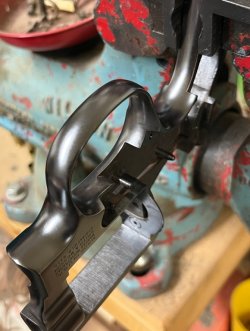
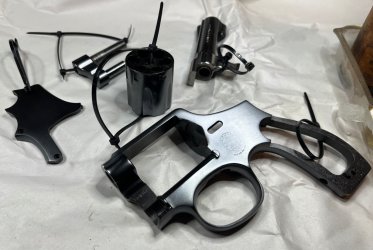
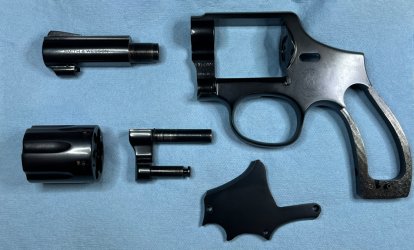
We're done with all the dismantling stuff and now it's time to remantle. The pieces were allowed to drain on a paper towel just like fried chicken and then wiped off with a blue shop towel. There is always a bit of curing time for the finish after removal from the oil so I expect the finish to darken up just a bit over the next few days. The handy-dandy MGW action wrench was assembled with the K-frame inserts, the never-used-for-anything-else V shaped vise inserts were installed, and I was able to sneak up on the proper barrel alignment in only 4 tries. I really don't like loosening a barrel after it's been set, so I prefer to tighten a little at a time and check the alignment frequently.
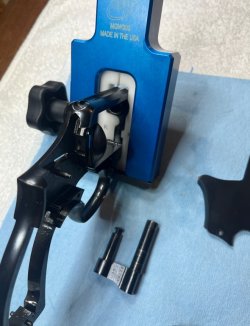
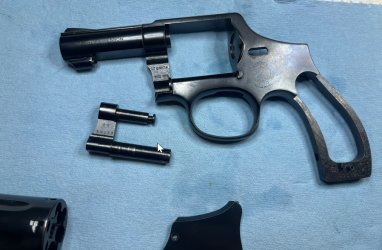
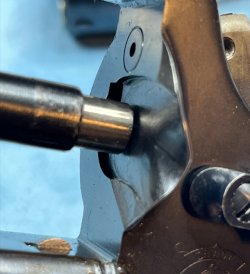
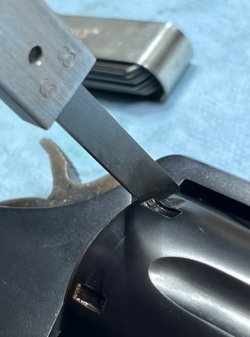
With the barrel in place the next step was to verify that the cylinder stop would move freely in the window and that the stop by itself had the right amount of droppy-downy and sticky-uppy. We'll test the movement of the stop when actuated by the trigger later.
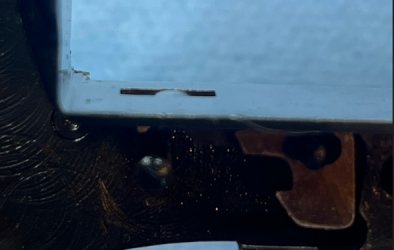
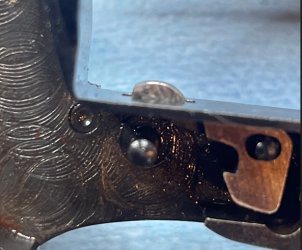
After verifying the trigger stop movement, it was time to get stoned. With a flat rock.....not the other way. The sides of the trigger stop body were stoned on a medium Arkansas stone, while the trigger stop bevel and the corners of the trigger stop ball were touched up with a fine ceramic triangle-shaped stone. The trigger hook got some attention with the fine ceramic stone on the top and the face, but not on the bottom of the hook. Leaving he bottom of the hook sharp makes sure that the trigger stop gets out of the way quickly, while polishing the top and the face (when combined with the polished cylinder stop bevel) provide for a smooth trigger reset.
For the rest of the trigger, the trigger bevel was polished with the same triangle shaped fine ceramic stone, the side of the trigger where the hand moves was polished to take the top off of some machining marks, and the trigger cam was inspected with a 10x magnifier. There was a tiny tiny burr on the trigger cam that may have just been built-up glock. Two gentle strokes with thin wedge ceramic stone (being extremely careful not to touch the single action sear surface right above it) were all it took to get rid of the burr.
Polishing the face of the trigger and rounding off the edges are the only places that I actually use power tools during a tune-up. All 4 grits in a Cratex 777 kit were used on the face and edges, then the face was polished on the 10" buffer in the garage. Only the area where my finger would sit were touched with the power tools - nothing else. Well ok.....I did stick the ball end of the trigger plunger into the buffing wheel for about 3 seconds to give it a bit of a polish. That was the limit of the cheating.
The hand was polished with the fine ceramic stone on the forward surface that drags on the frame, and the side that faces the trigger (around the pins) was lightly touched up. No work was done to the surface that engages the ratchet teeth. The hand was reinstalled on the trigger using the Fat Boy method. The trigger is held in the left hand, a steel punch of just the right diameter to fit into the slot on the rear of the trigger is inserted into the trigger, and the trigger-punch assembly is pulled back into my beer gut to depress the hand spring....leaving my right hand free to put the hand pins in place on the trigger.
The medium Arkansas stone came out again to polish the flat sides of the rebound slide and to lightly break all of the corners. A small round file was used to clean up the area inside the slide where the spring has to move, and the fine ceramic triangle stone was used to lightly polish the hammer seat and ramp. The end of a 3/8" square fine ceramic stone was pressed into action to take the top off of the machining marks in the frame where the rebound slide moves.
All this work is needed to allow me to use an 11 pound rebound spring and still get a snappy trigger return. No, it doesn't push your finger like the 87 pound factory spring, but
if you get your finger out of the way it snaps back just fine. For those who say you have to use a strong rebound slide spring to shoot fast, my double action controlled pairs (with A-zone hits at 7 yards) run between .25 and .27 seconds. Yes, I'm able to get into the .1's if I push it but I need that extra couple of hundredths for accurate hits (to my standards).
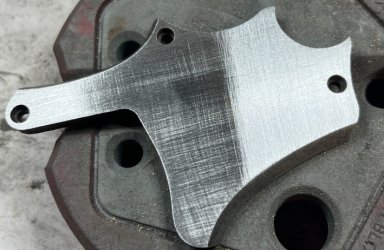
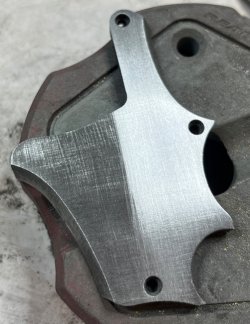
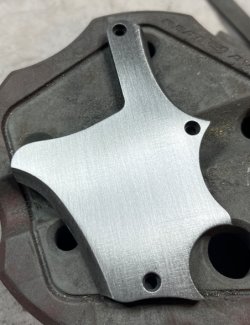
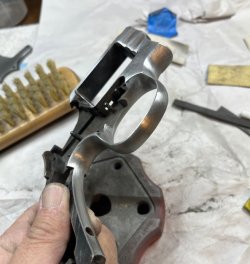
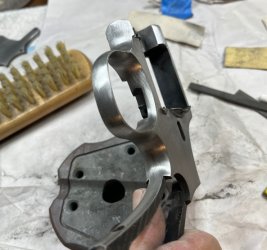
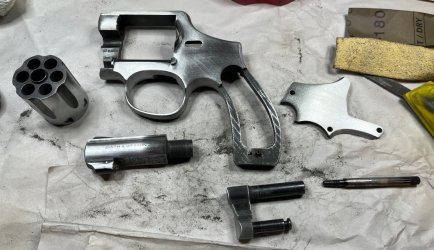
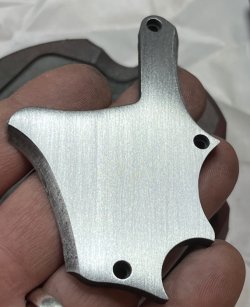
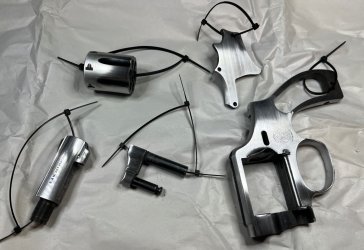
Anyway....here are our polished pieces.
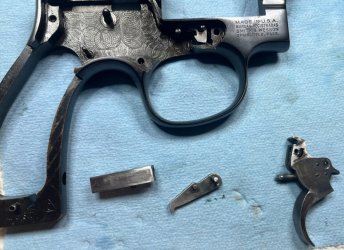
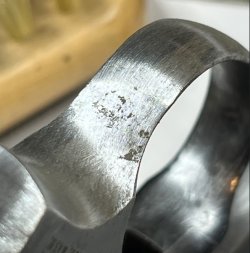
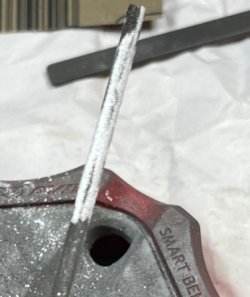
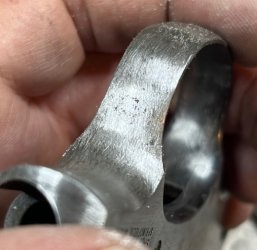
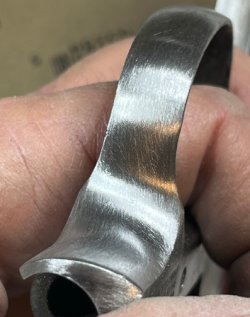
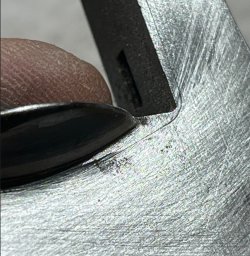
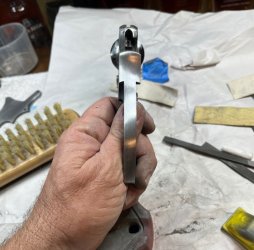
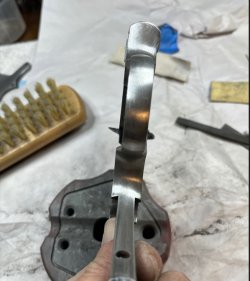
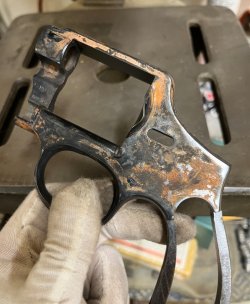
Moving on to the bolt, I had to use a wire brush and copious amounts of Hoppe's to clean off the accumulated glock, and then a safe edged file was used to smooth the surfaces. Not a great picture but it conveys the idea....

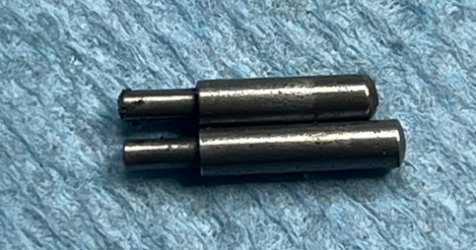
I removed the bolt plunger before I started this process but the plunger spring didn't want to come out and stayed in the hole....which meant that during the cleaning process it fell out and went to the Valhalla of small springs and AR-15 detent pins.

When I dug a spare spring out of the spare parts box, I discovered something I didn't know: S&W used different sized bolt plungers. The small one on top is the one out of this gun, the longer one on the bottom came out of a spare bolt. Why is this important? Because I tried the longer one in the bolt and it
would not fully depress and the bolt could not be installed. Not sure if that is a K-frame / N-frame thing. Maybe one of our more experienced members can shed some light on this.
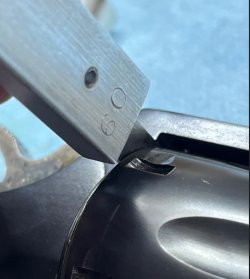
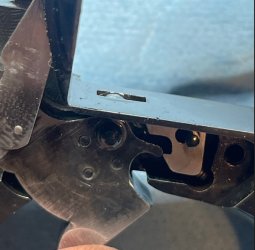
The hammer really didn't need much attention other than a quick polish on the bearing surfaces of the double action sear. That meant it was time for the putting togethering and a function check. The trigger return felt wonderful, the cylinder stop was fully retracted when actuated by the trigger, the hand was moving as it should, and the "wink" between the hammer foot and the seat on the rebound spring looked fine.
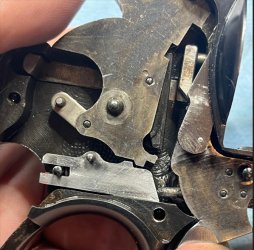
I've had bad luck with Wolff hammer springs in round butt frames. They work well in square butt frames, but the shorter strain screw of the round butt guns doesn't preload the Wolff springs enough to give the proper amount of hammer tension. For this build, a Wilson Combat hammer spring was used. After installing the hammer spring and the hammer block, it was time to put the sideplate on, tighten up the strain screw, and call it a night.
More to come....
