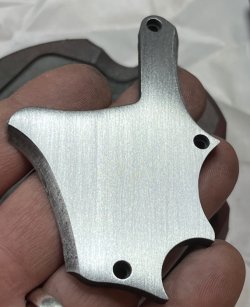
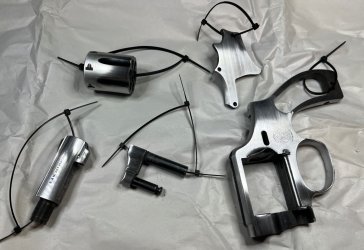
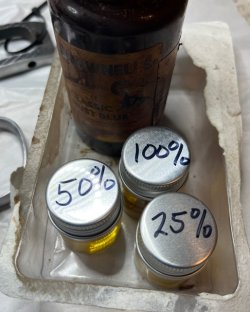
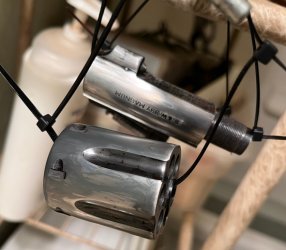
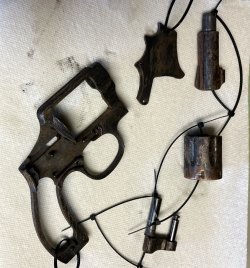
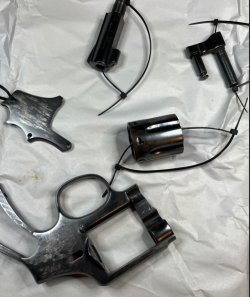
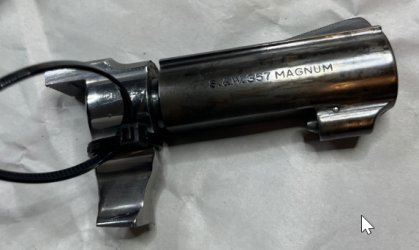
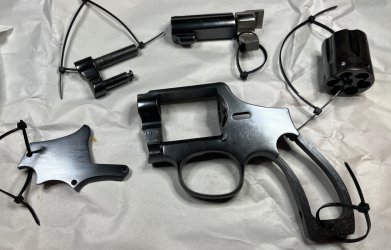
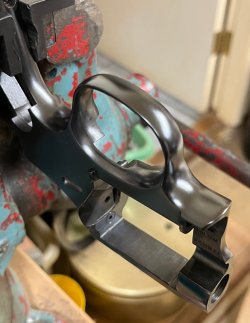
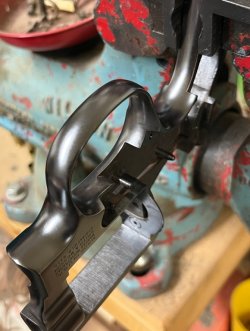
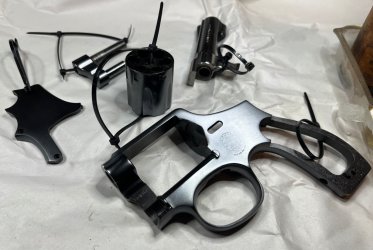
The inline pictures seemed to work ok, but they're big. I'll try dropping the size a bit in this post.....if you prefer the large pictures with lots of detail, send me a postcard or something.
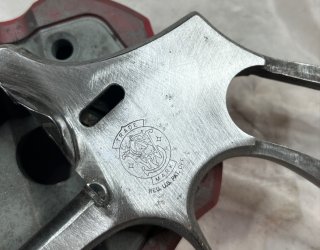
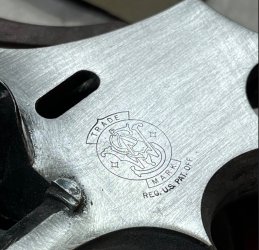
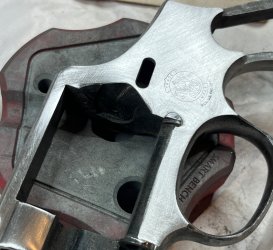
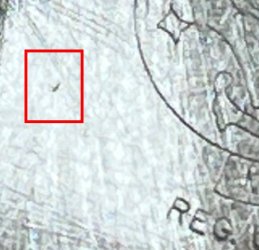
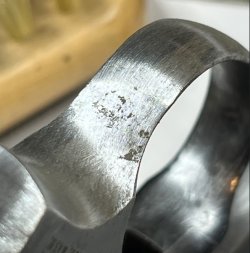
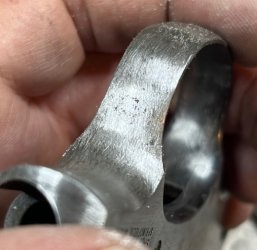
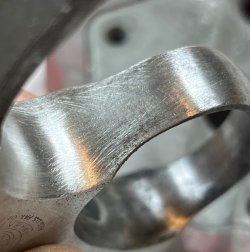
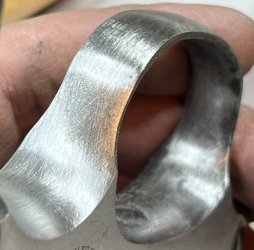
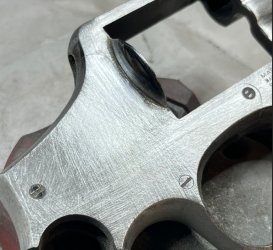
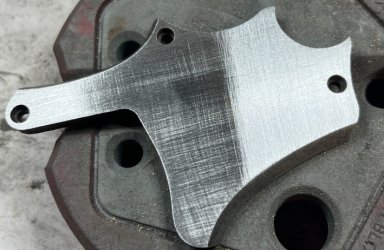
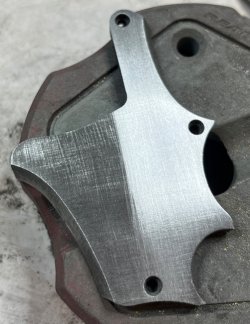
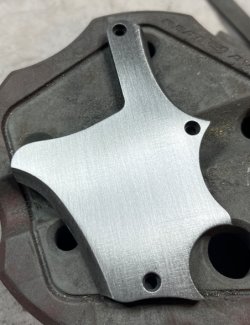
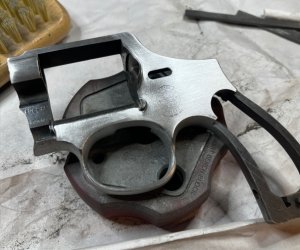
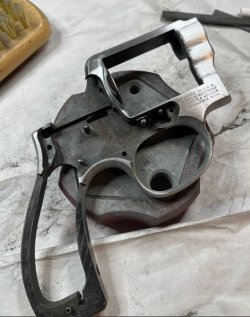
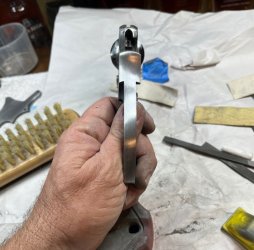
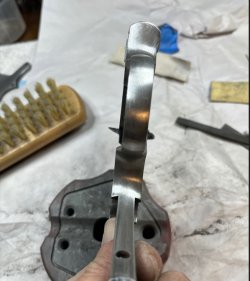
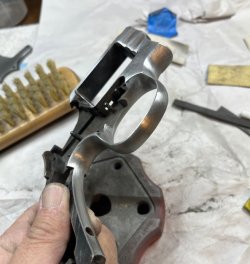
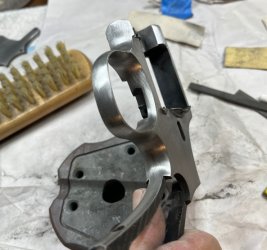
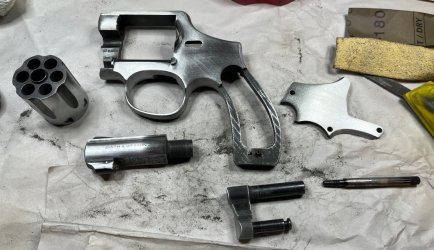
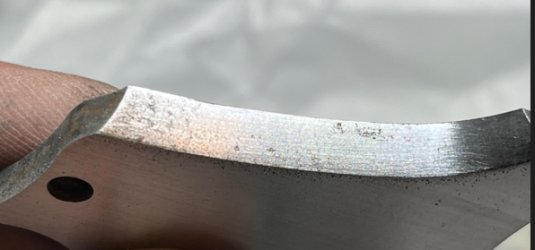
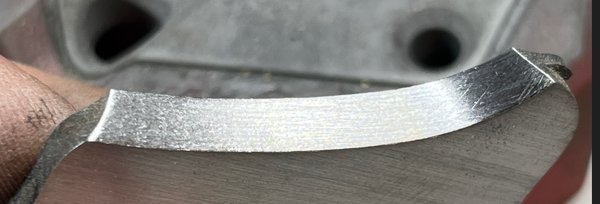
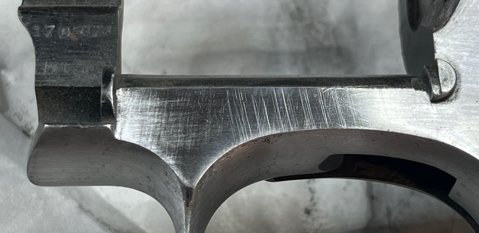
The area above the trigger guard on the left side appeared to be in the worst shape, so I started there. Sandpaper wasn't going to touch those pits. This was file work....in fact it wasn't even draw filing. This was just plain old filing filing. In many ways, the "in process" pictures look worse than when I started. That's normal. The first stages of metal prep always look like hammered dog poop. We'll make it pretty later. The purpose here is to remove the pits while keeping the flat parts flat, the round parts round, and retaining as much of the frame edge as possible.
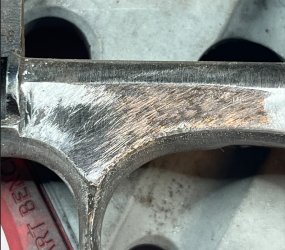
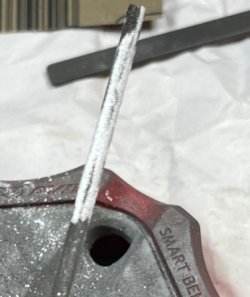
The file was cleaned roughly every 10 to 15 strokes. When I could no long see the major pits, a piece of 180 grit sandpaper and the sanding block was used to clean up the surface so that I could see.
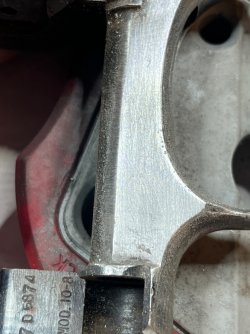
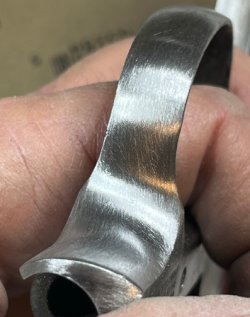
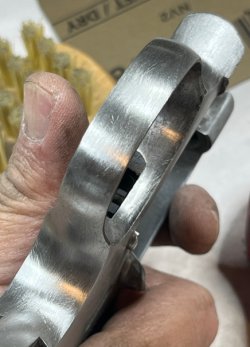
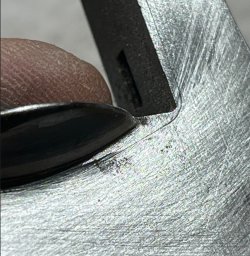
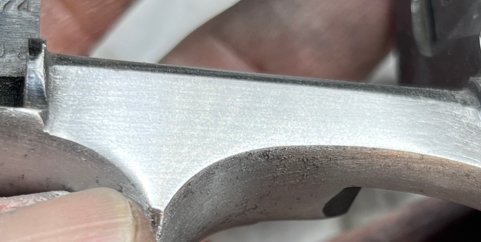
When things started to look mostly ok with the flat, a round file was chalked up and used to clean up the inside edge of the trigger guard opening. The edges should become more distinct as we block sand the rest of the frame.
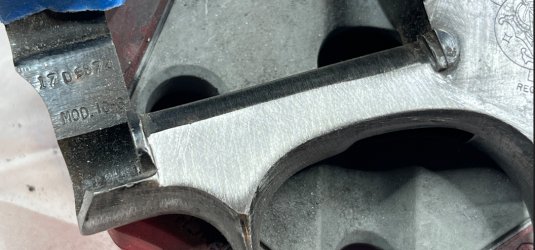
The area above the trigger guard on the left side appeared to be in the worst shape, so I started there. Sandpaper wasn't going to touch those pits. This was file work....in fact it wasn't even draw filing. This was just plain old filing filing. In many ways, the "in process" pictures look worse than when I started. That's normal. The first stages of metal prep always look like hammered dog poop. We'll make it pretty later. The purpose here is to remove the pits while keeping the flat parts flat, the round parts round, and retaining as much of the frame edge as possible.

The file was cleaned roughly every 10 to 15 strokes. When I could no long see the major pits, a piece of 180 grit sandpaper and the sanding block was used to clean up the surface so that I could see.

When things started to look mostly ok with the flat, a round file was chalked up and used to clean up the inside edge of the trigger guard opening. The edges should become more distinct as we block sand the rest of the frame.


