- Joined
- Dec 23, 2015
- Messages
- 139
- Reaction score
- 853
Hello folks,
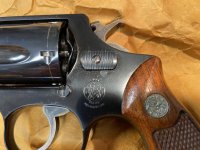
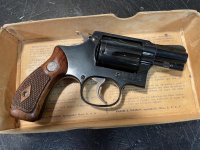
I came across video of
a smith I watch regularly replacing the trigger boss of a Model 29.
While I had read about the procedure, I never seen it done.
Since it's hard to come by revolversmithing content on YouTube, I'm posting it here for your enjoyment.
Anvil 065: S&W model 29-2 Trigger stud replacement - YouTube
Cheers,
686PC
Last edited:

") That repair was easy especially because touching up Stainless is simple. The Blued gun was much harder and took much longer. I would NEVER attempt drilling out a Stud with a hand held drill! No way it would be precise! Thankfully I have a pretty descent Drill Press with extremely small run-out.
That repair was easy especially because touching up Stainless is simple. The Blued gun was much harder and took much longer. I would NEVER attempt drilling out a Stud with a hand held drill! No way it would be precise! Thankfully I have a pretty descent Drill Press with extremely small run-out.